This is a very quick guide on getting an NGINX image running in a docker container, and accessible through your devices localhost.
Step 1: Install Docker Desktop
Windows: https://docs.docker.com/desktop/install/windows-install/
MAC: https://docs.docker.com/desktop/install/mac-install/
Linux: https://docs.docker.com/desktop/install/linux-install/
Step 2: Start docker desktop
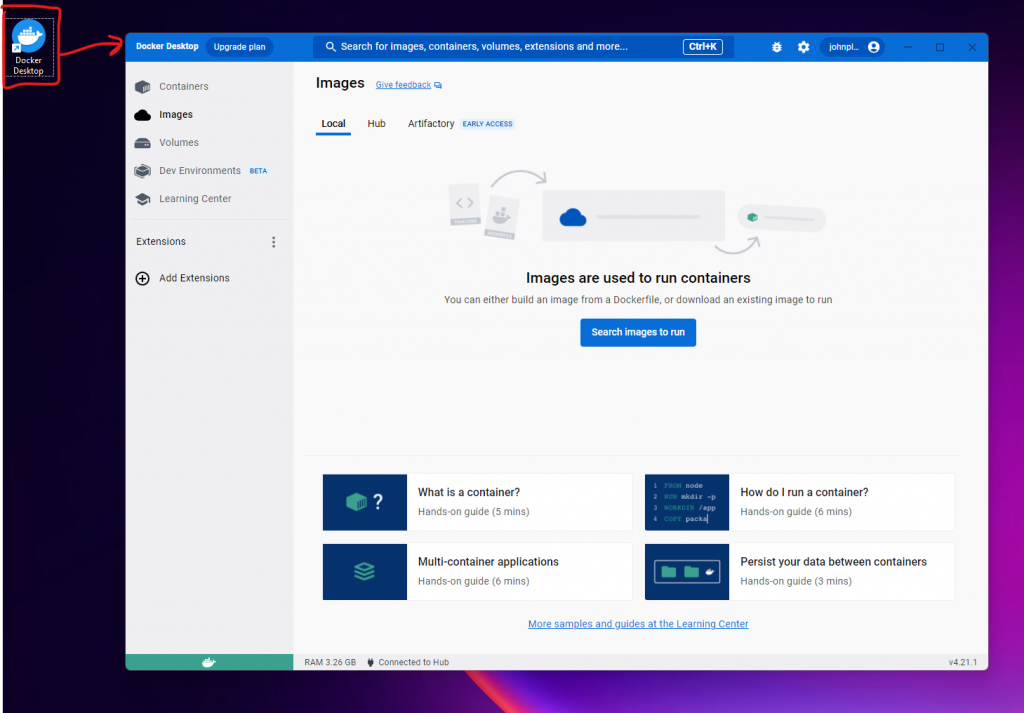
Double click the desktop icon the start the docker desktop app:

Step 3: Pull the nginx image and launch a container
Open the command line (cmd or terminal), run the following command:
docker run -d nginx:latest
The ‘-d’ argument stands for ‘detached’, meaning we can continue to use the cmd/terminal window while the container is running.
This will fetch the latest Nginx image from dockerhub and mount it in a new container. This method will first check if you have already pulled the nginx image:

If you refer back to the Docker desktop app you’ll see both the nginx image (latest) and also a running container:


Step 4: Port Binding
We need to expose the closed container to our local network.
Run the following command to see the running container, including the default assigned port:
docker ps

If you try to visit localhost and specify the above port, the nginx server will not be reachable:

We need to tell docker to assign the container port to a port we specify, to allow us to access it via our browser.
Firstly we need to stop the running docker container, type the following to see the running container:
docker ps
Copy the container id, then run:
docker stop <container_id>
Now we’ll start a new container, passing in the arguments to assign the network port we can use to visit the docker container through our browsers:
docker run -d -p 9000:80 nginx:latest
‘-p’ = Publish a containers port to a host
‘9000:80’ = Take port 80, and bind it to localhost port 9000
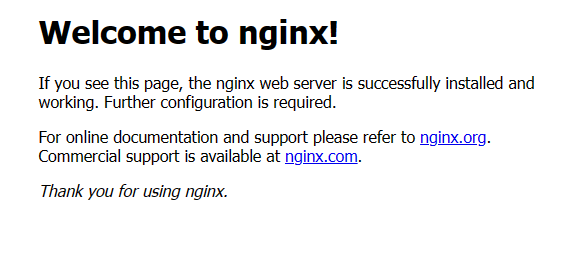
Now if we visit http://localhost:9000/, you’ll see the nginx server welcome page:

