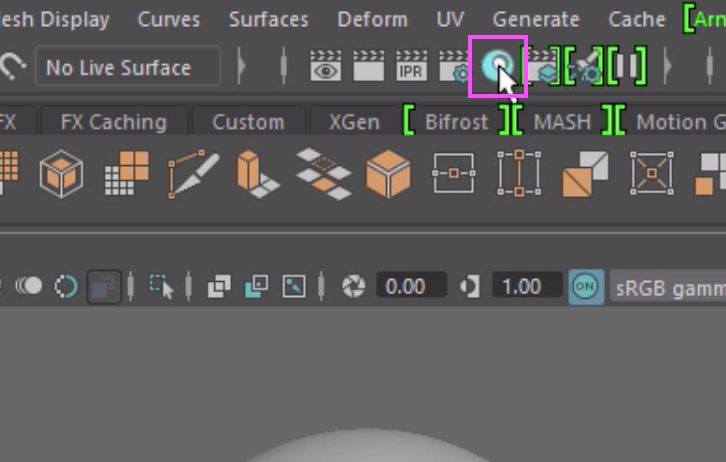
The view and work with shaders, first open the HyperShade by clicking on the small HyperShade ball in the main menu:
Category: Materials
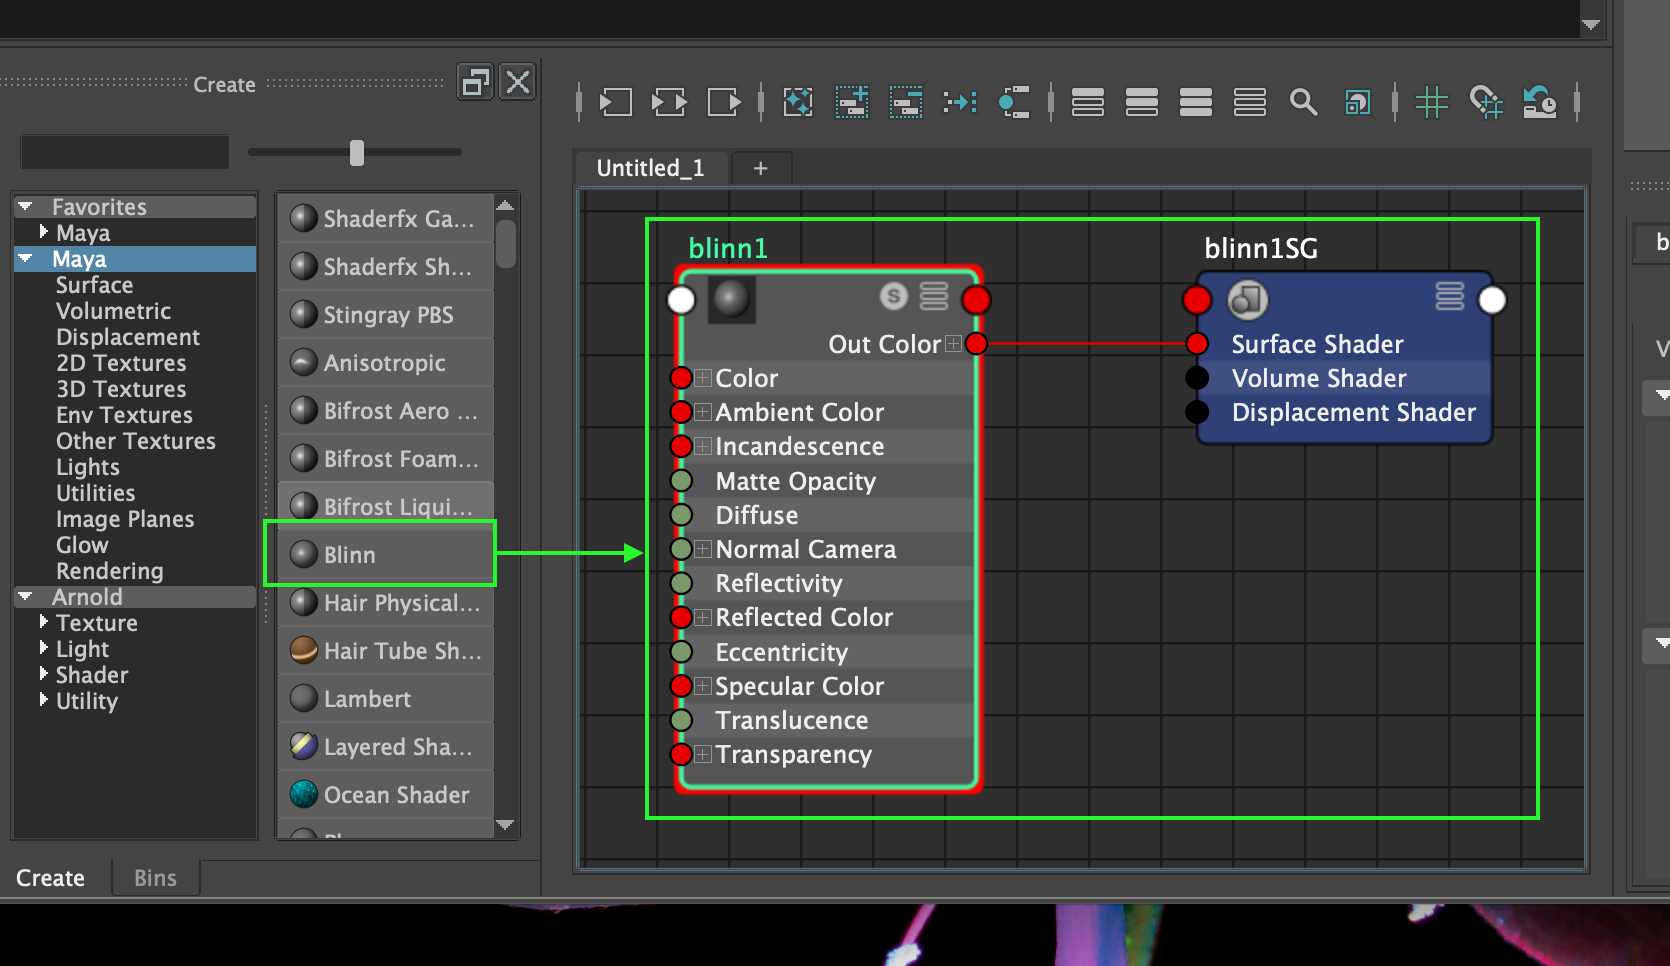
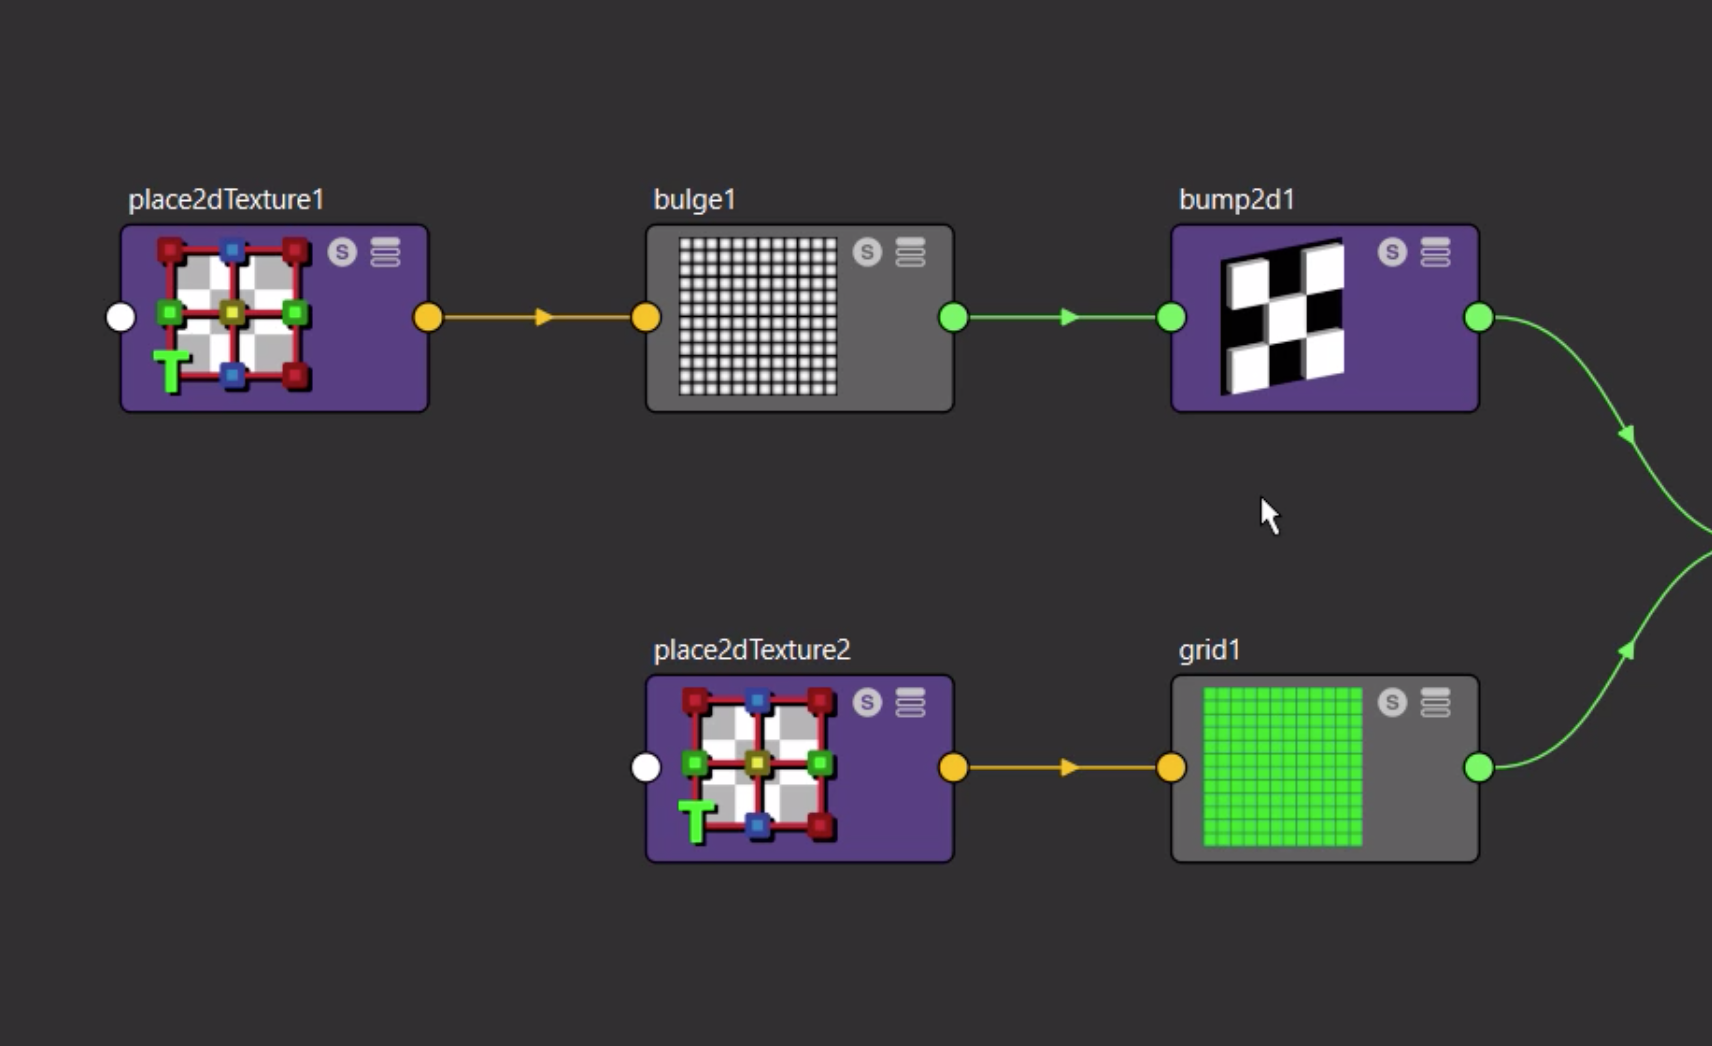
The Hypershade has a number of different areas that you’ll use together to create your materials.
In Maya the HyperShade is a isolated environment where all of the shading and texturing can be done for a project or scene.
So you’ve created an awesome object in Maya, you’ve nailed the topology and smoothing and you are ready for the next step.
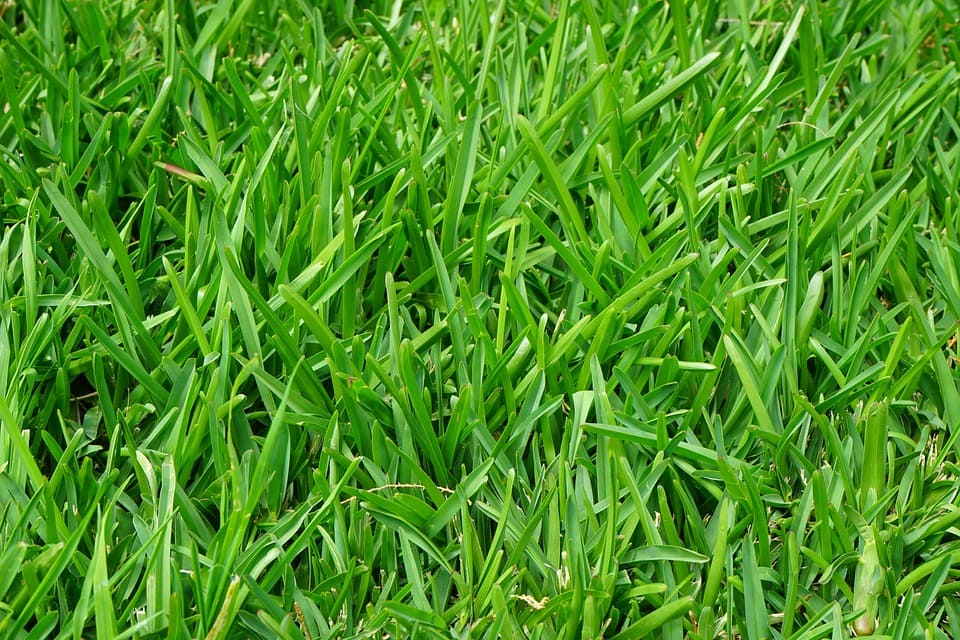
To paint grass or foliage directly onto a scene:
Great for previewing a model, also known as ‘Clay’ due to the way it appears.
When we are working with textures in Maya there may be times when we want to paint a texture directly onto our model.
To unwrap a model and export a PNG for texturing in photoshop
Gives a lot of freedom in terms of editing our textures
When we apply textures to objects there may be times when we need to apply them very accurately. This can be done using UV Mapping. Textures can be applied to entire objects or just a face.


