A quick guide on how to get Qt.py set up in Maya and confirm it can be found by creating a dummy UI window.
Go to the Github repo here: https://github.com/mottosso/Qt.py
Download the repo as a Zip:

Once downloaded, extract the file, open it up and find the Qt.py file.
Navigate to your Maya scrips directory (On Mac OSX this will be ‘/User/Library/Preferences/Autodesk/maya/<version>/scripts’)
Drag and drop / Copy and paste the Qt.py file here.
Test it in Maya
Open up Maya, and open the script editor. Type:
import Qt
print Qt
And run the code using the double blue arrows:

You’ll see in the output that the Qt module has been loaded:

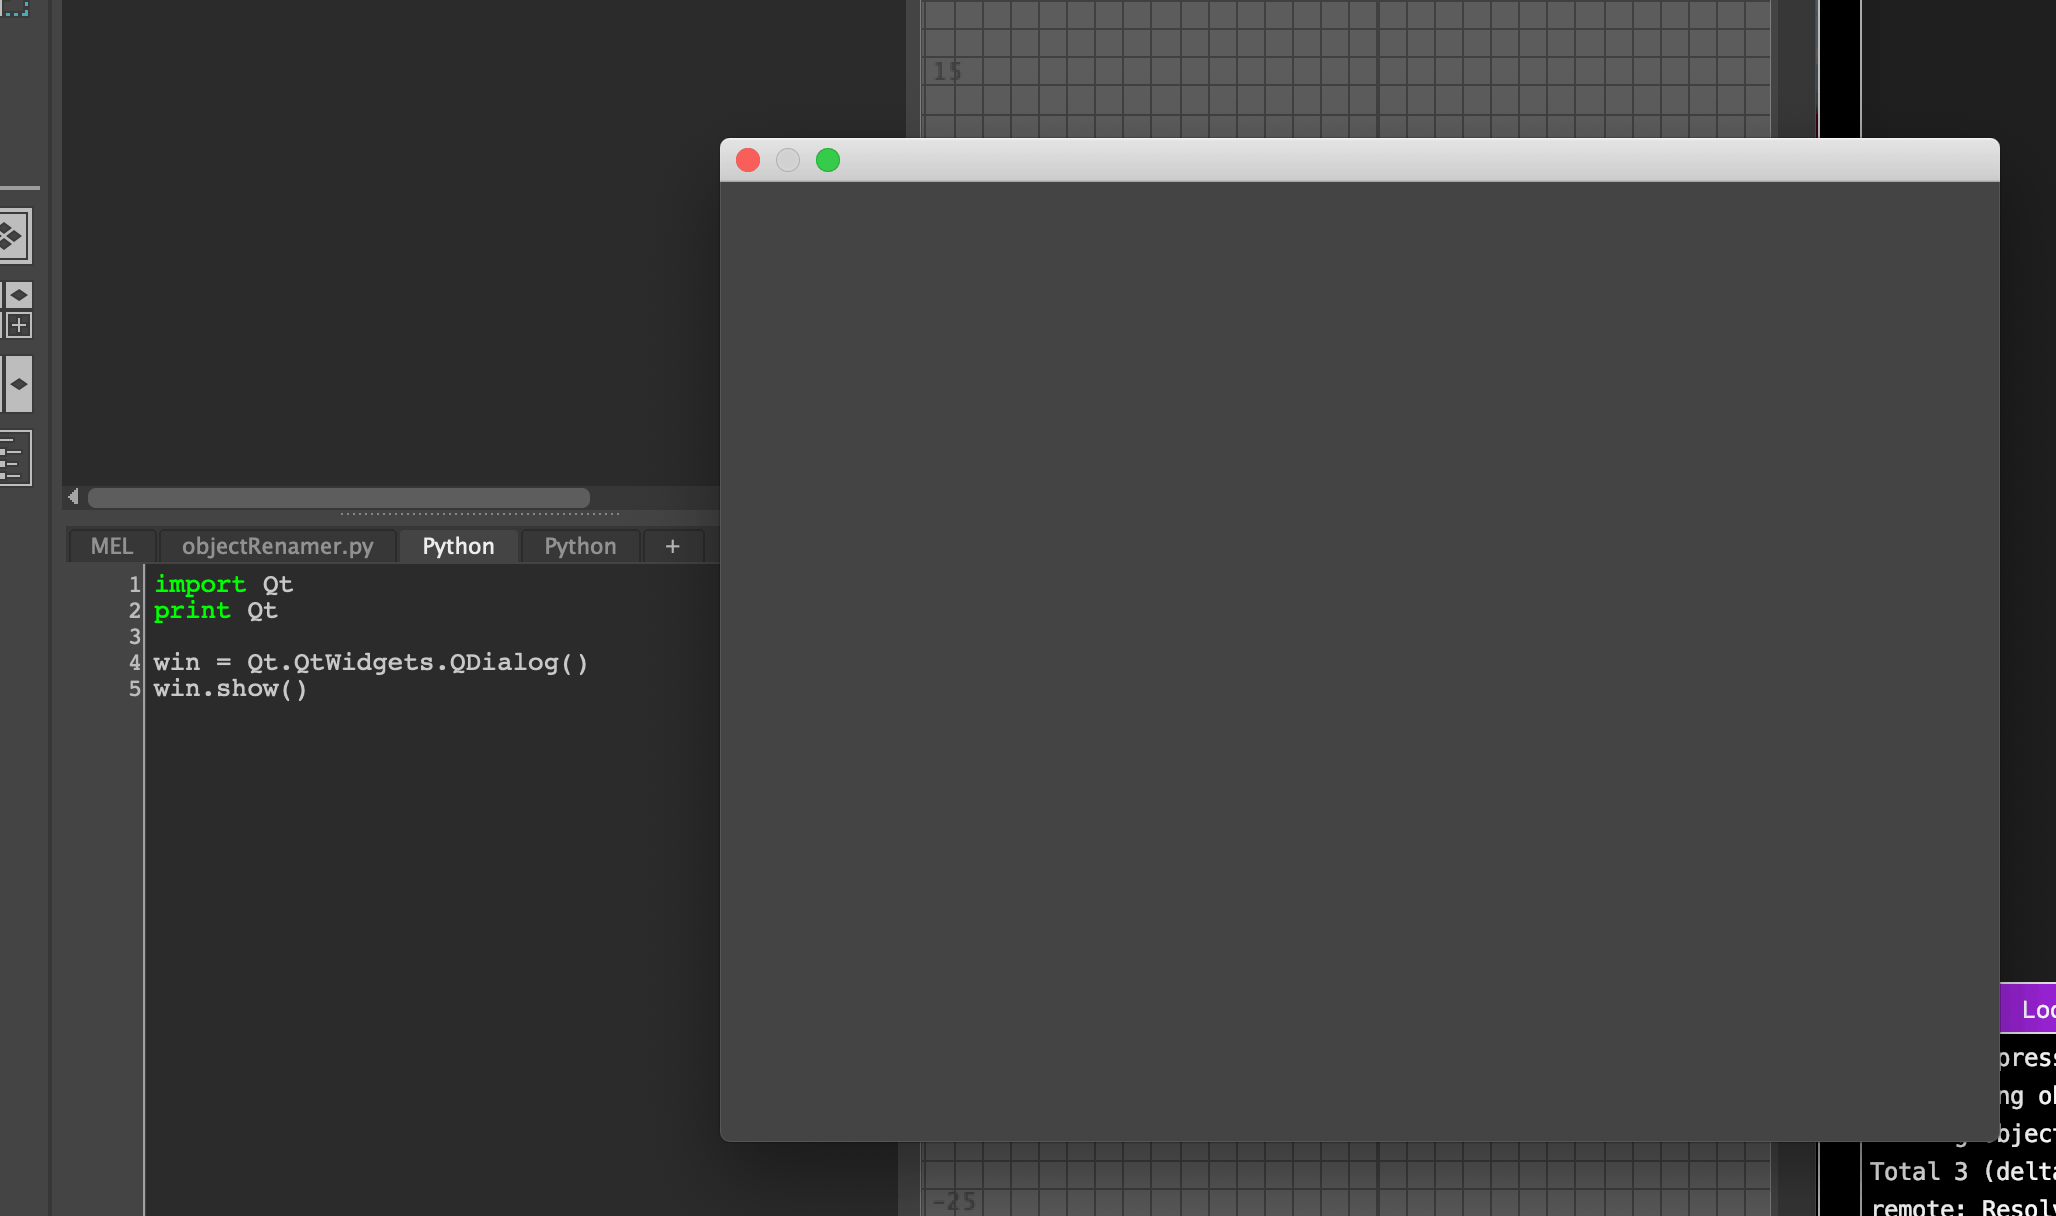
Let’s expand on this and get a UI window to appear, update the script in Maya:
import Qt
print Qt

win = Qt.QtWidgets.QDialog()
win.show()
We are creating a new window UI element, once again click on the blue arrows to run this code:

All done! We have downloaded and set up our Qt.py module and have used it to display a window.
Using Maya 2017 and above?
If you are using a newer version of Maya you will want to use the PySide2 module which comes
imcluded in newer versions of Maya.
The above code will be modified slightly to call the PySide2 module rather than Qt, but the outcome is still the same:
import PySide2
print PySide2

win = PySide2.QtWidgets.QDialog()
win.show()