To understand exactly how the smoke emitter works lets create one.
In a new scene create a box and define it as a smoke emitter by selecting it and clicking the ‘Billowy Smoke’ option under the Pyro FX shelf:

Houdini will add 2 new nodes to the network, a sim node and an import node:

Double click on the ‘box_object1’ node to expand its internal network, a number of new nodes have also been added here:

We shall explore what each of these nodes actually does, and piece together just how the smoke emitter works.
create_density node
There are 2 attributes present by default to a smoke emitter, density and temperature and more can also be added (Fuel, Color, Alpha, Velocity, Custom).
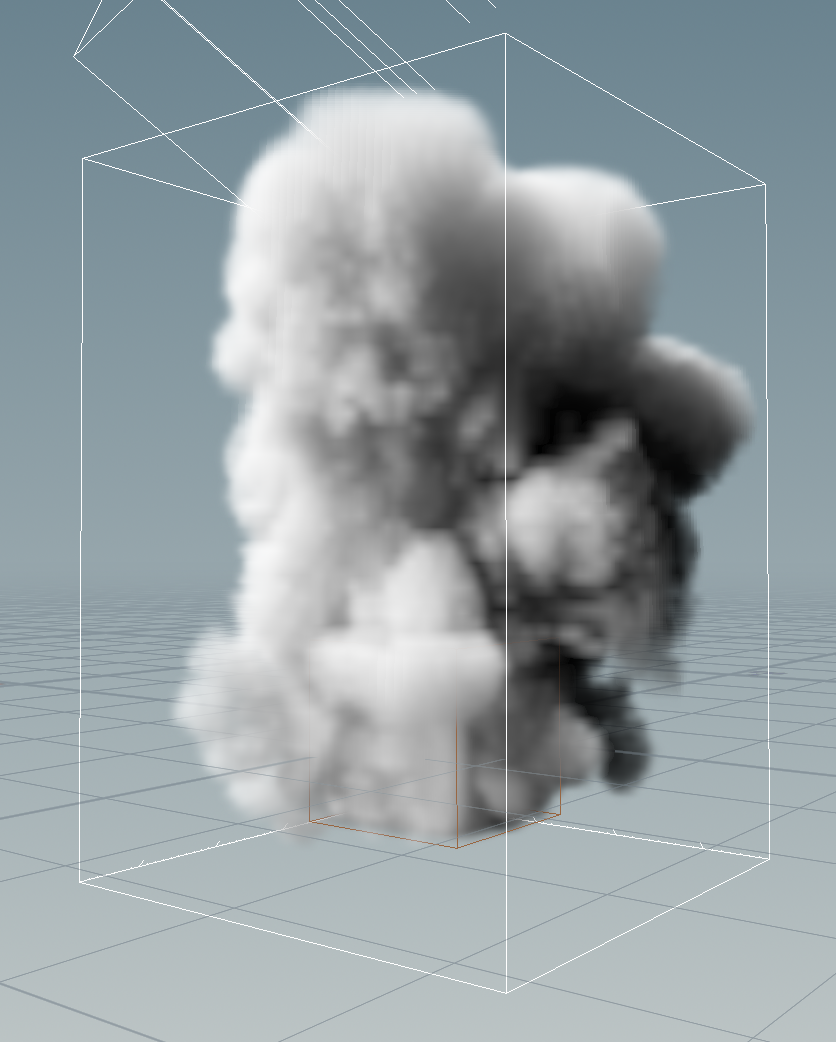
Density defines how dense the smoke is, default value 1:


0.5 
1.0 
10
Temperature

0.0 
0.5 
10
Adding a new attribute
New attributes can be added by pressing the + option:

Play around with the various options in the dropdown and the values.
Velocity
The Velocity attribute allows you to control the force and direction that the smoke is ejected from the source emitter, the 3 default values refer to the XYZ directions in the scene:

add_noise node
The noise node lets you define parameters of the actual smoke billow, attributes such as when and how the source will pulse to create cloud puffs and flow.

The other 2 nodes in the network deal with outputting the previous attributes into the viewport/render.