Create an object to be our emitter:
![](http://www.john-player.com/wp-content/uploads/2019/06/houdini-smoke-emitter-1.png)
With the object selected, click on the Pyro FX tab in the main shelf and select the ‘Billowy Smoke’ option:
![](https://i0.wp.com/www.john-player.com/wp-content/uploads/2019/06/houdini-smoke-emitter-2.png?fit=800%2C402)
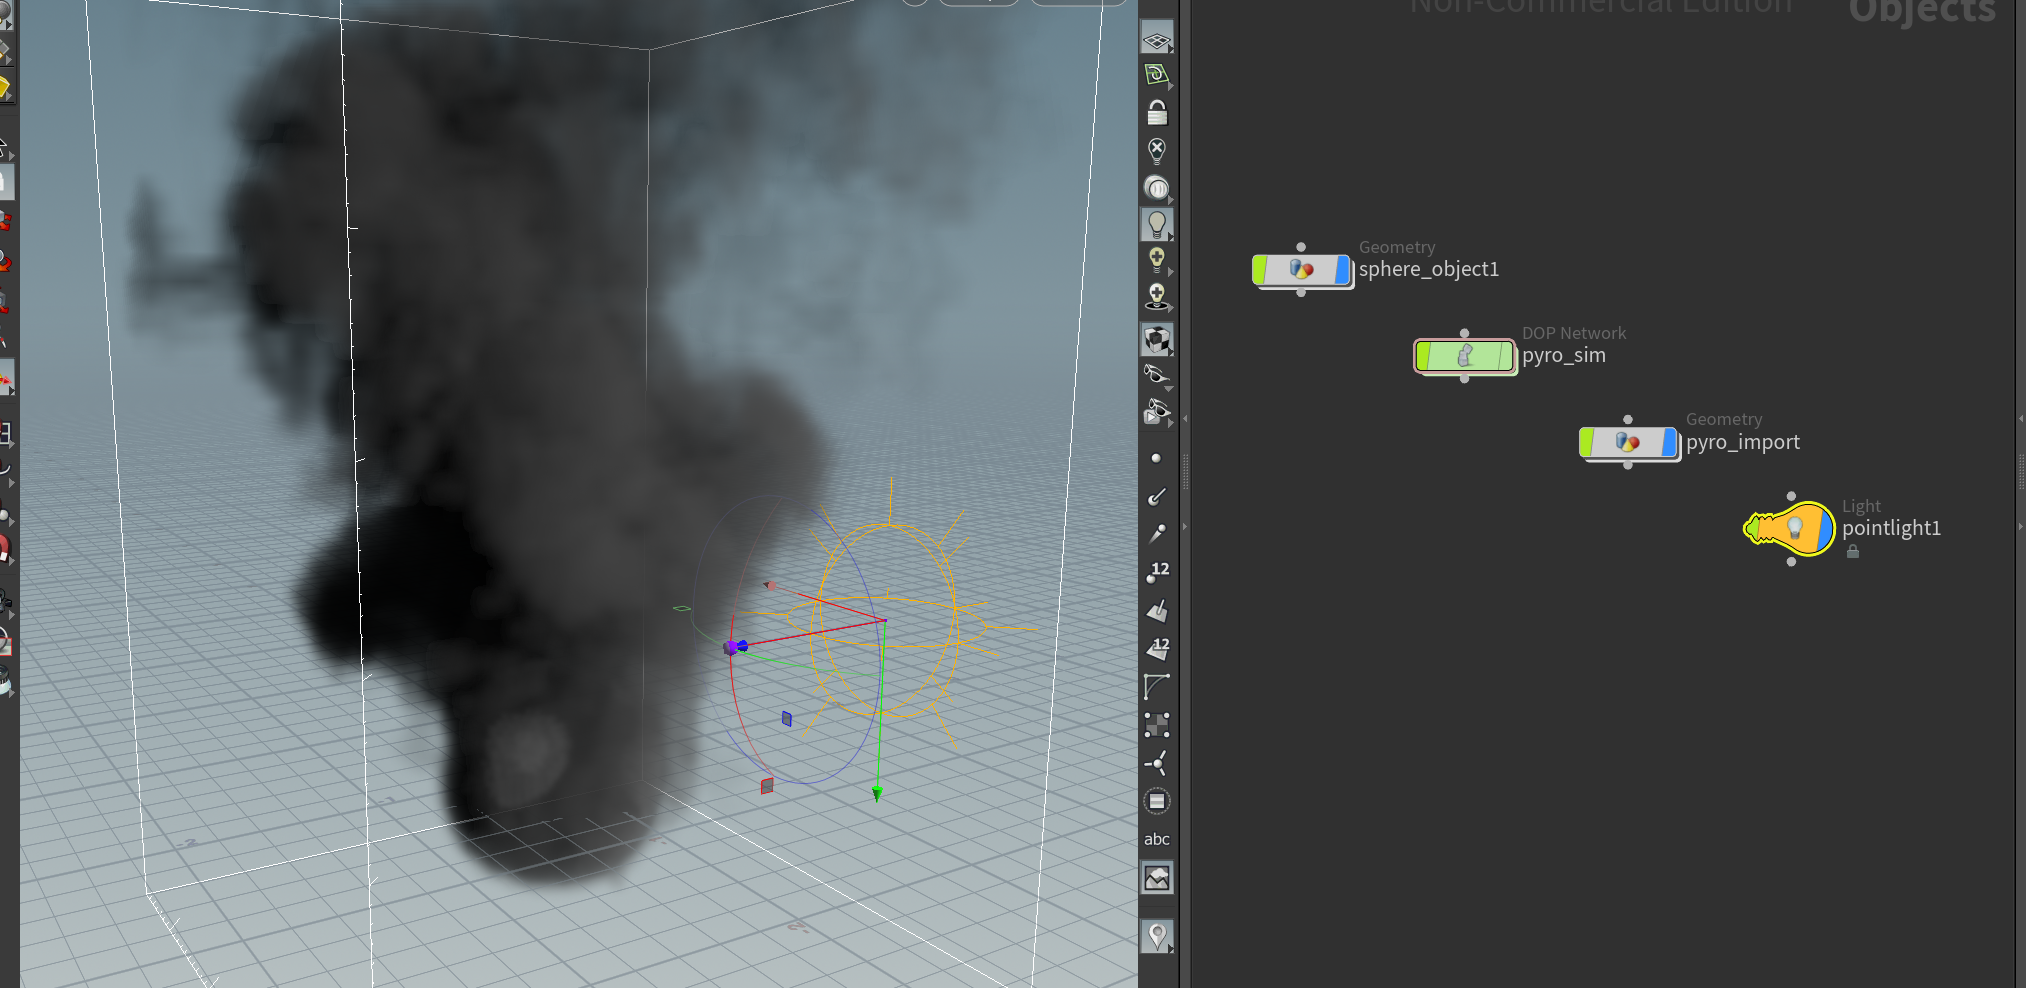
The geometry in the viewport will change to an object resemble smoke and some new nodes will be added to our network:
![](https://i1.wp.com/www.john-player.com/wp-content/uploads/2019/06/houdini-smoke-emitter-3.png?fit=800%2C438)
If you press play in the timeline you’ll see the smoke begin to simulate:
![](https://i0.wp.com/www.john-player.com/wp-content/uploads/2019/06/houdini-smoke-emitter-4.png?fit=800%2C434)
As the simulation plays you’ll notice that a blue line will begin to load along the timeline, this is Houdini caching the simulation to the device RAM, the 2nd playback will be real
![](https://i0.wp.com/www.john-player.com/wp-content/uploads/2019/06/houdini-smoke-emitter-5.png?fit=800%2C120)
To reset the simulation select the sim node in the network and click on ‘Reset Simulation’ in the properties:
![](https://i1.wp.com/www.john-player.com/wp-content/uploads/2019/06/houdini-smoke-emitter-6.png?fit=800%2C339)
When you press play again Houdini will re-calculate the simulation. There are also some useful properties for the sim node that are worth exploring.
![](https://i2.wp.com/www.john-player.com/wp-content/uploads/2019/06/houdini-smoke-emitter-7.png?fit=800%2C313)
To give your smoke better visibility in the viewport, add a light:
![](https://i2.wp.com/www.john-player.com/wp-content/uploads/2019/06/houdini-smoke-emitter-8.png?fit=800%2C390)
Or 2 🙂
![](https://i0.wp.com/www.john-player.com/wp-content/uploads/2019/06/houdini-smoke-emitter-10.png?fit=800%2C410)