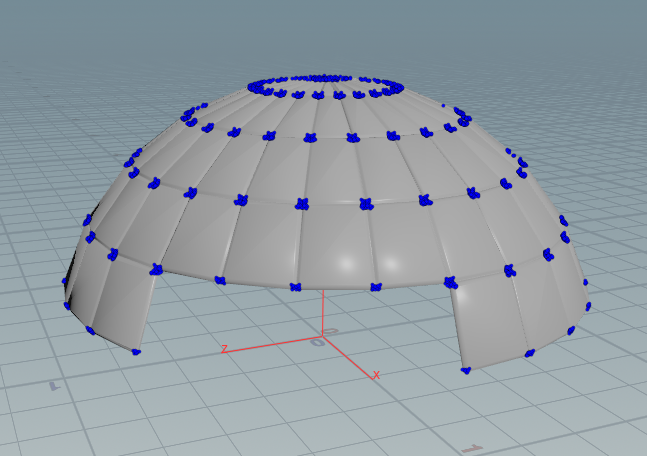
Start by creating a geometry node in the global network and double click it to expand.
Within the geometry internal network press tab and create a sphere, in its properties update the ‘primitive type’ to ‘Polygon Mesh’, this will give us plenty of primitives (or faces) to play with:

Again press tab and create a ‘Group range’ node. With the new node selected update the ‘Method’ dropdown in its properties to Start/End as we will be using a start and end value to define our group:

Once you select this option, you’ll notice that only 1 primitive will be highlighted in the viewport:

This is because the default start and end values of the start/end method are 0 and 1, the highlighted primitive is ‘1’.
By modifying the end value in the ‘

To make things easier we can display the primitive (or point) numbers in the viewport, I’ve highlighted each option in the screenshot below and pointed to the relative attribute that the numbers would display for, they icons are also pretty self-explanitory:

The selected range can be inverted by simply checking the ‘Invert Range’ option in the grouprange node properties.

You can also apply filters to the selection, for example, we could choose to select every other primitive.
In the following

We have selected a range of primitives based on a start and end range and applied a filter (selecting every other one). We can not manipulate our selection by adding additional nodes to our geometry network.
Deleting a group
We can delete the selected group by adding a delete node and connecting it to the group range node, then select our created group from the delete node properties:

Using the frame number to animate
We can do something interesting at this point, if we select the group range node and in its properties specify the end primitive as the value equal to the frame number we get some cool results:

What will happen is that as the animation plays through the timeline, the value of the end range will increase with the frame number. The result is that we see the sphere disappearing one primitive at a time:

Select ‘Invert Range’ to get the opposite effect, where the sphere is constructed one primitive at a time:

Adding detail to the sphere
To give the sphere more detail we can also add a extrude (Select ‘Individual elements’ from the dive into dropdown to separate the extrudes) and a bevel node:

We can also add a sort node and specify the primitive sort as Random, resulting in the sphere being constructed one random primitive at a time rather than in order:

