In this
Create a new scene
Hit tab in the network editor and add a ‘Platonic Solids’ node:

Double click the node to enter its internal network, select the In the platonic node properties change the type to ‘Soccer ball’:

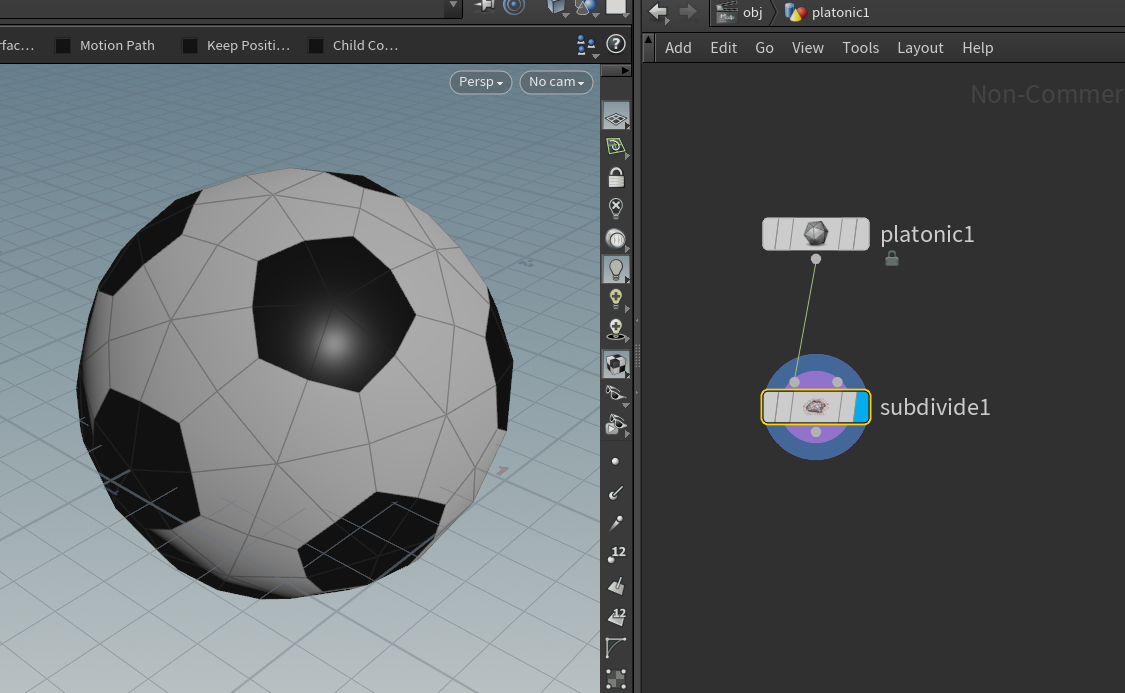
Add more detail to the ball by creating a subdivide node and connecting the platonic node to its 1st input:

If you want to add more detail, adjust the Depth slider in the subdivide node properties:

Create a new transform node, and attach the subdivide node to its input, Hold R and drag to select the transform node to move the display flags over to it.
Update the translate Y value so our ball moves up vertically, this will be the starting point for the animation:

Hold ALT on the keyboard and left click on the Translate Y value to add a keyframe, you’ll notice that a keyframe is added to the timeline at frame 1 (the current, starting frame):

A quick note on the animation timeline, the 2 numbers highlighted below define the number of visible frames in the timeline (first number), and the total frames in the entire animation (second number):

I’m going to reduce both of these numbers for this simple animation.
Move the time slider to a frame in the future, activate the manipulator tool and move the ball down:

ALT + left click on the translate Y channel again to set another keyframe:

Now go to the last frame in the animation and adjust the translate Y value to put the ball back up to its original point (5):

If you play the animation from the timeline and it plays too fast, click on the timeline settings button and check the ‘Realtime Playback’ option:

Open in the Animation Editor
Right click on the channel which has animation keys applied, and select Channels > Add to Channel List:

This will open the Animation Editor window:

I won

See my post on Maya’s tangent types for some useful information on curve functions