Let’s assume we have already created our object. This is what the network for my existing object looks like (although not actually important):

Create the text by pressing TAB in the network editor, and selecting the ‘Font’ option, then place the node into the existing network.
In the font parameter panel, enter the desired text in the ‘Text’ area:

You wont see the text in the viewport until you set the display/render flags on the node, do this by holding R and dragging over the font node:

To also see a visual representation of our original cup, activate the template flag on the last edit node:

Press TAB in the editor and create a Transform node, connect the output of the font to the input of the transform node and hold R + Drag to move the display/render flags over to the new node:

With the transform node selected, adjust and scale the text to the correct spot:

Create a ‘Ray’ node in the editor (TAB + Type Ray):

We will use this node to project the text onto our cup object, connect the text and object streams into the inputs of the ray node:

Move the display/render flags over to the new ray node.
In the ray node parameters select ‘Minimum Distance’ from the ‘Method’ dropdown:

We can see in the viewport that the text is now projected onto our object:

Create a new ‘polyExtrude’ node in the editor and connect the ray one node to its input, then hold R and drag to apply the display flag:

Adjust the ‘Distance’ in the polyExtrude node parameters to extrude the text (desired amount will vary depending on goal):

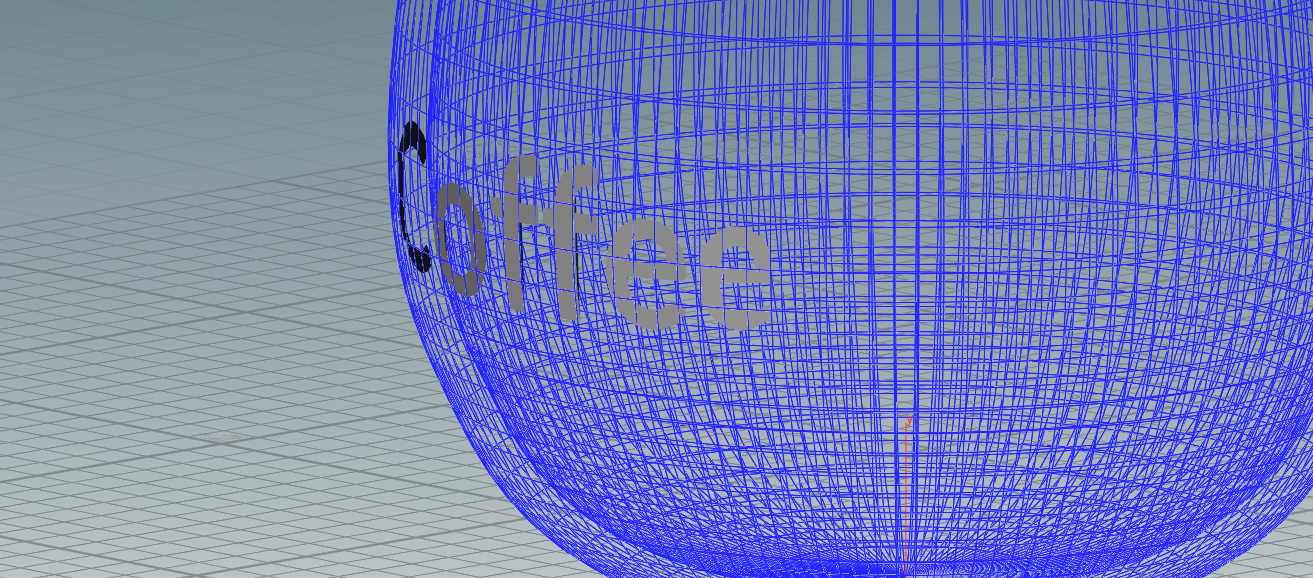
If we apply the template flag to our cup so that it is visible as a wireframe we can see that the text is on the outside of the object:

To fix this we can create a new transform node, connect it to the end of our network stream and move the display flags to it (R + Drag):

The pivot for our new node is at the centre of the workspace:

To move it, press ‘insert’ on the keyboard, move the pivot closer to our text and press insert again to exit the pivot manipulation:

Now move the text back into the cup object so that the text has something to cut into:

At this stage the back of the extruded text has not been ‘capped’, they are open like a hollow object:

To cap the back of the extruded text, select the

We are now ready to subtract the text from the cup object using the Boolean node (TAB + Boolean).
Connect the last transform node and the object edit nodes to the Boolean inputs. We are connecting the 2 nodes we cant to subtract from each other, in this case the text and the cup object.

Update the output geometry operation to ‘Subtract’:

And change A – B to B – A:

Now click to return to the object level network:

We can see the final result:
