To draw a NURBS curve, select the Curve tool from the menu, then select ‘NURBs’ from the ‘Primitive type’ dropdown:

Switch to top view (SPACE + B, hover over top view then SPACE + B) and draw the curve, as you place points the line will smooth in line with the dynamics of NURBs objects:

Press Enter to confirm the curve and end the curve tool.
Editing the points on the curve
To modify the curve points, double click on the curve node in the network editor to expand it:

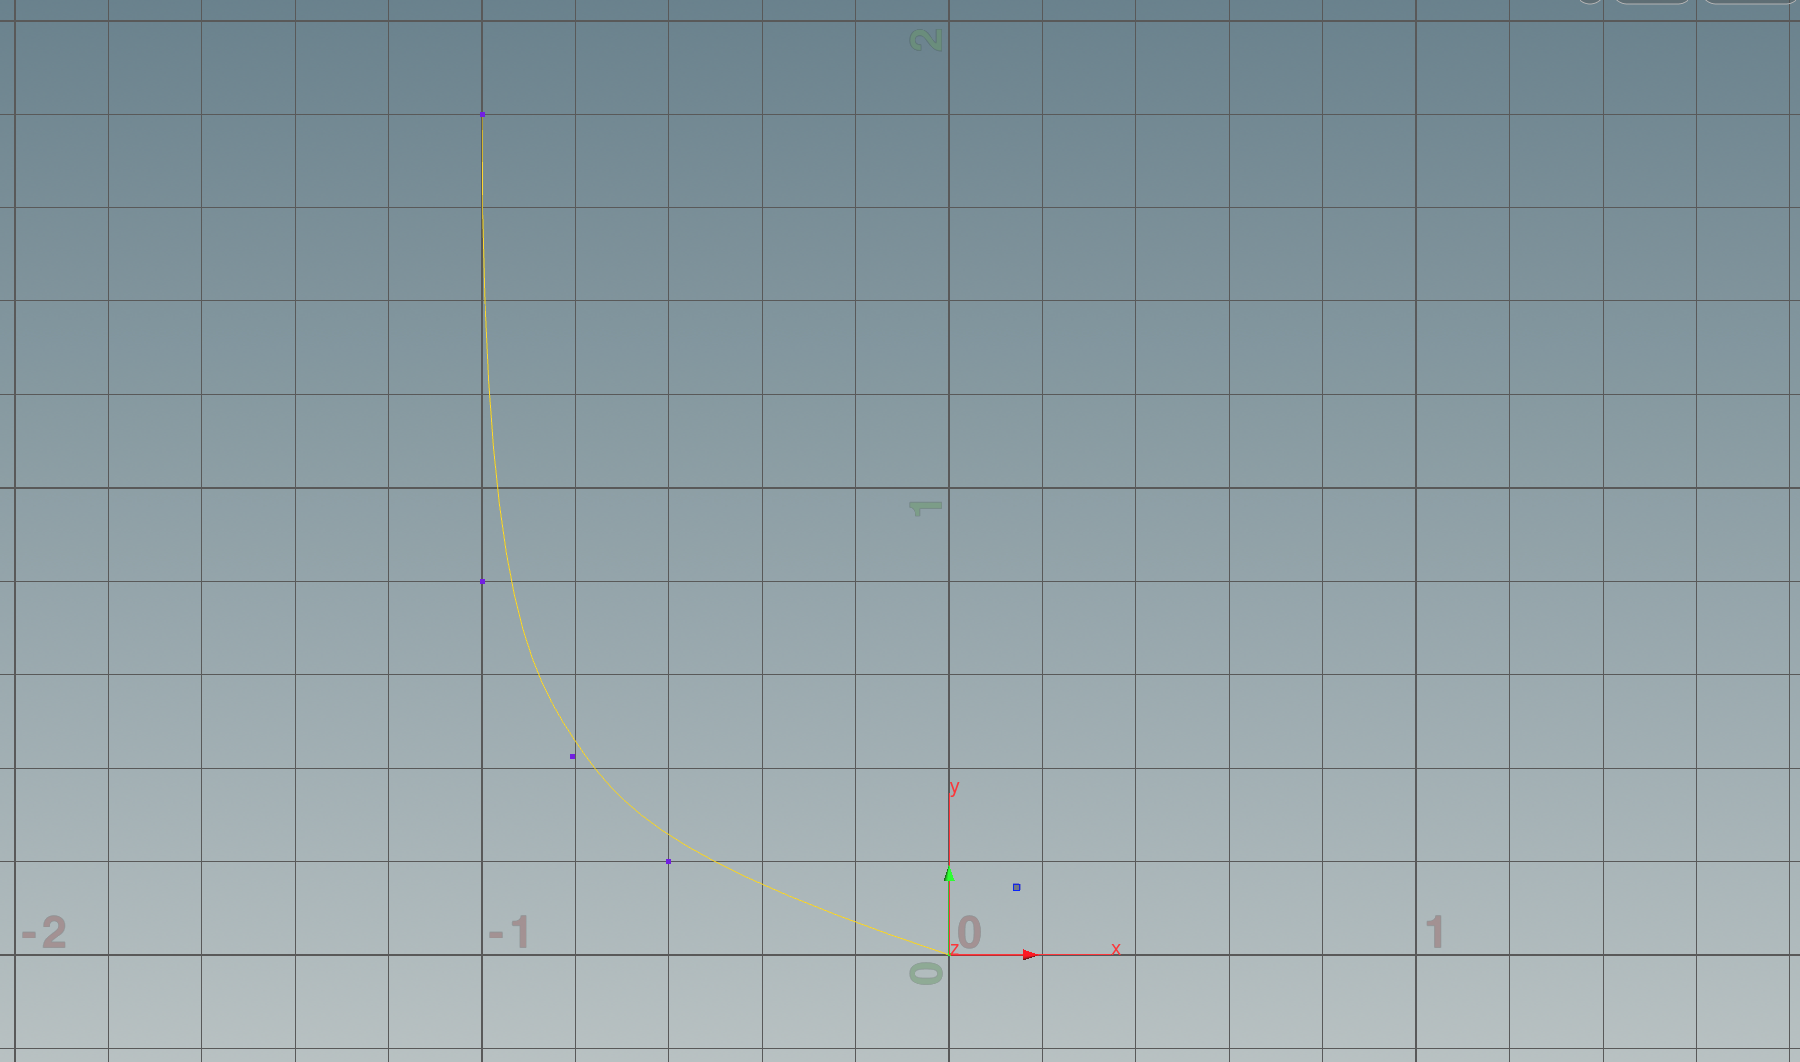
This will expand the object to reveal the curve network, the curve points will become visible in the viewport:

Right click on the ‘Geometry select mode’ tool and ensure that ‘Points’ is selected:

Drag and select the point(s) in the viewport, click on the move tool and use the handles to move the points of the curve:

You’ll notice that after you make the edit a new ‘edit’ node is added to the network:

This is the record of the changes we have just made to our curve, you can bypass these changes by activating the bypass option directly on the node:

The curve in the viewport will revert back to its original state before we made the edit.