A quick guide with an example of how to define geometry as a light in SideFX Houdini.
Create a geometry in a scene, in this case, I’ve added a torus object to an existing test scene:

Double click the torus node to expand and adjust its properties to suit:

Once you are happy with the torus properties, return to the global network, select the torus geometry and click “Geometry Light” in the ‘Lights and Cameras’ shelf:

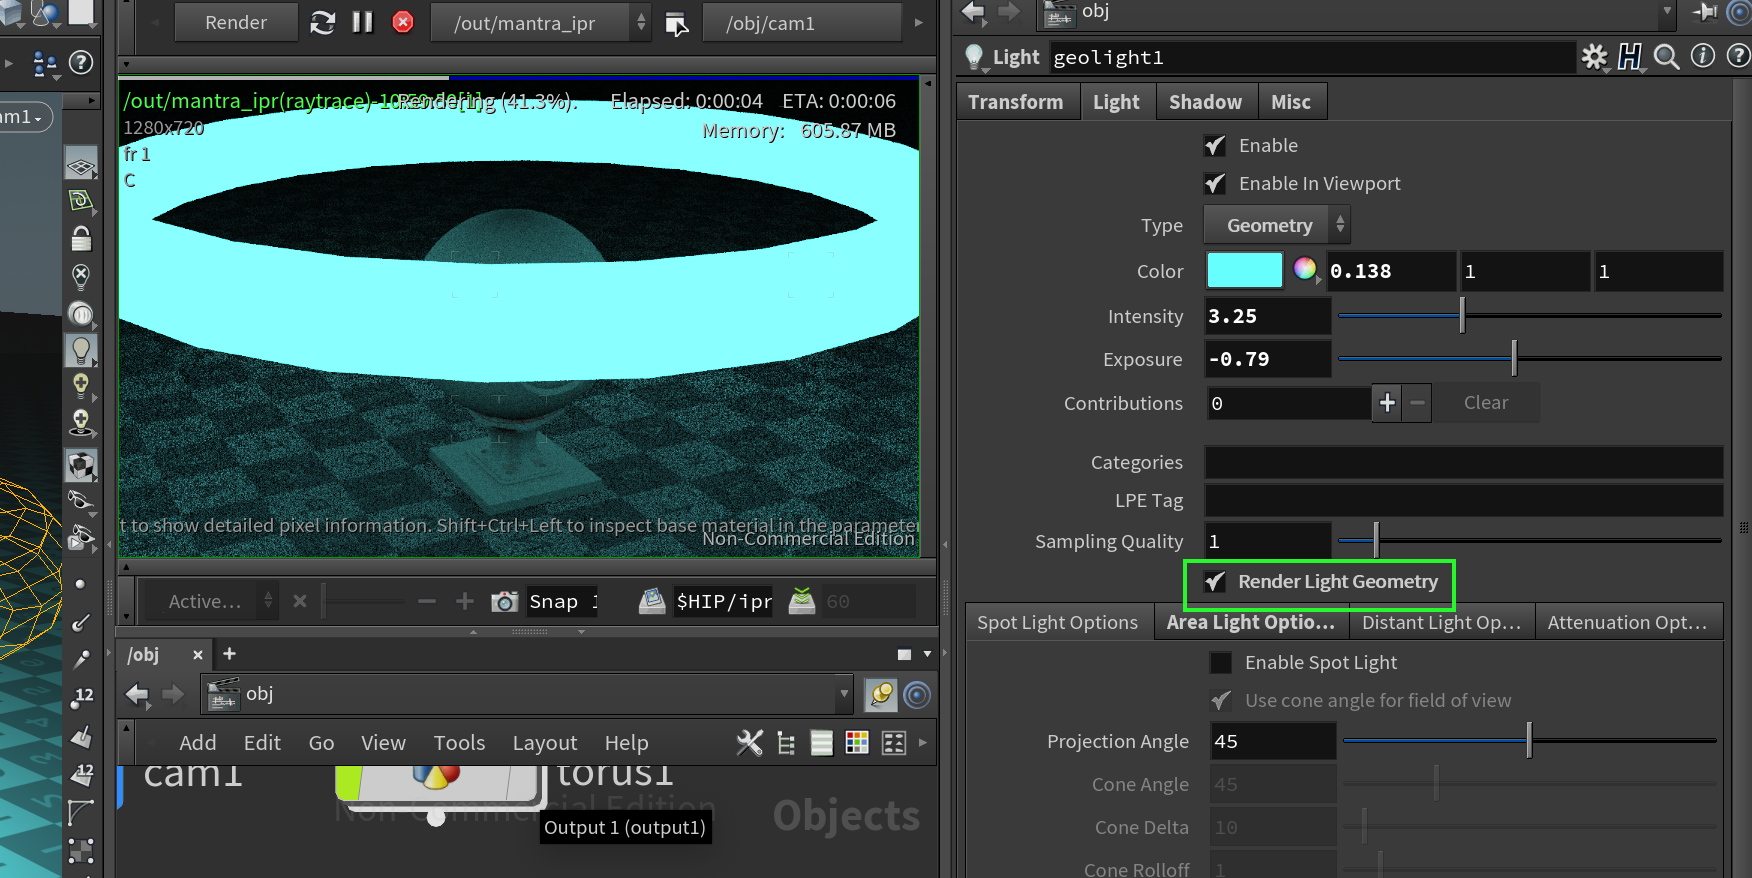
A new light node will be created in the network, you can adjust its properties to define the light attributes:

To see the light geometry in the render, enable the ‘Render Light Geometry’ option:
