For this
I have created a cup using a simple nurbs curve and a revolve node:

We now want to extrude the faces to give this object some depth.
Press TAB in the network editor and select the PolyExtrude node:

Place the node in the network editor and connect the output of the revolve node into its input:

Activate the display\render toggle to show the result in the viewport:

Use the sliders in the node properties to adjust the extrude outcome, let’s take a quick look at some of the options.
Distance

Twist

Divisions

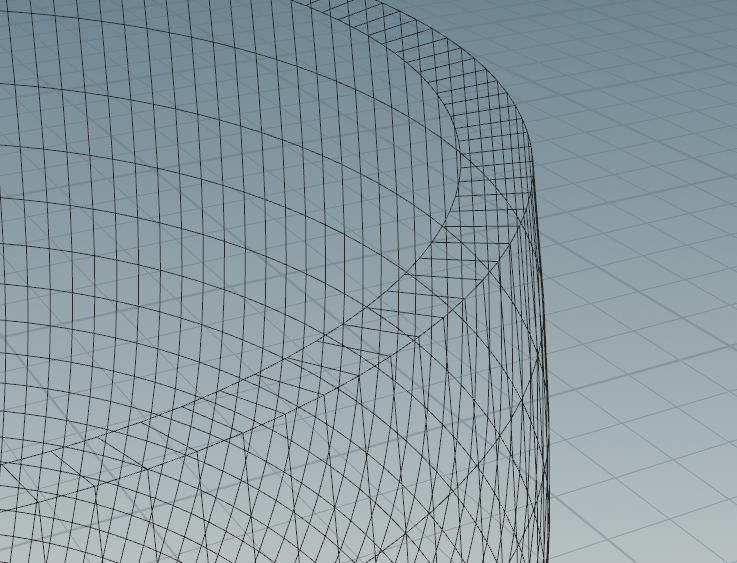
If you switch to wireframe mode, you’ll notice that we have only extruded the outer area of the shape, it is still essentially 1px thick:

To fix this in the view, select the polyextrude node in the editor and scroll down to the “Output geometry and groups” section of the attributes and check the “Output back” option:
