Playblast allows you to preview your animation in real time before rendering.
To use Playblast for an existing animation firstly set the frame rate for the viewer. Go to ‘Windows’ > ‘Settings / Preferences’ > ‘Preferences’
In the time slider section, make sure that the playback speed is set to 24fps (24 fps x 1):
Click ‘Save’ to close the Preferences window. To display the FPS of the animation directly in the workspace go to ‘Display’ > ‘Heads up display’ > ‘Frame Rate’:
The frame rate will update when you play an animation but also when you are working on the scene as it represents the FPS for the viewer at all time. Depending on the power of your hardware you may see this value leap into the hundreds when working on a scene:
But if your time slider is set to 24fps, when the animation is played the FPS will not go above the 24fps you specified, as this is the playback speedof the animation:
The problem is that if you have a scene which contains an animation that your hardware can’t play at full speed in the viewer, you’ll see an FPS of much less than 24fps which does not give an accurate preview of the total animation.
To tackle this problem we can create a Playblast, which creates a preview of the viewer in real-time.
Step 1 : Frame the shot
This will be the angle that the playblast will be created from, the playblast is based on what we see in the viewer.
Step 2 : Open Playblast
Go to ‘Windows’ > ‘Playblast’ and click the options box:
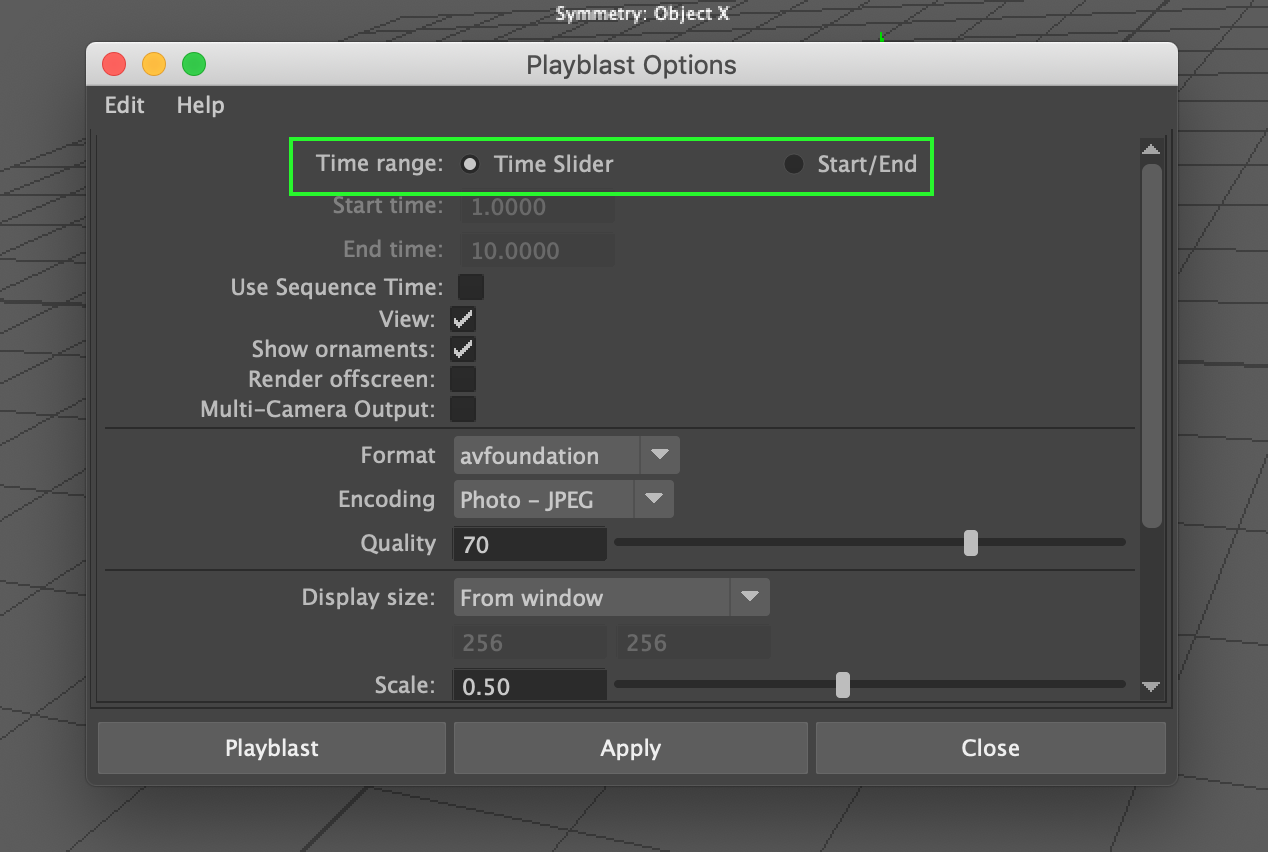
Step 3 : Define Range
Select whether you want the playblast every frame in the time slider, or define start and end frames.
Step 4 : Size and Scale
Select the size of the playblast. Size refers to the dimensions of the viewer:
With scale set at 0.5, the output will be half the size of our viewer. As my viewer is a reasonable size on the screen I’m going to leave it at 0.5.
Step 5 : Playblast!
Click on ‘Playblast’, Maya will generate a preview video of your animation, from the perspective of the viewer and using the attributes defined in the playblast options window.


