Create a quick and simple MASH network in Maya.
Create some text and hide it (CTRL + H)
Then Create a cube (I’m adding more subdivisions but this isn’t necessary for this example):
Make sure that the animation menu set is selected:
With the object selected go to “MASH > Create MASH Network”:
A new MASH network will be added to the outliner:
The result of the MASH network is also added to the outliner, prefixed with “_ReproMesh”:
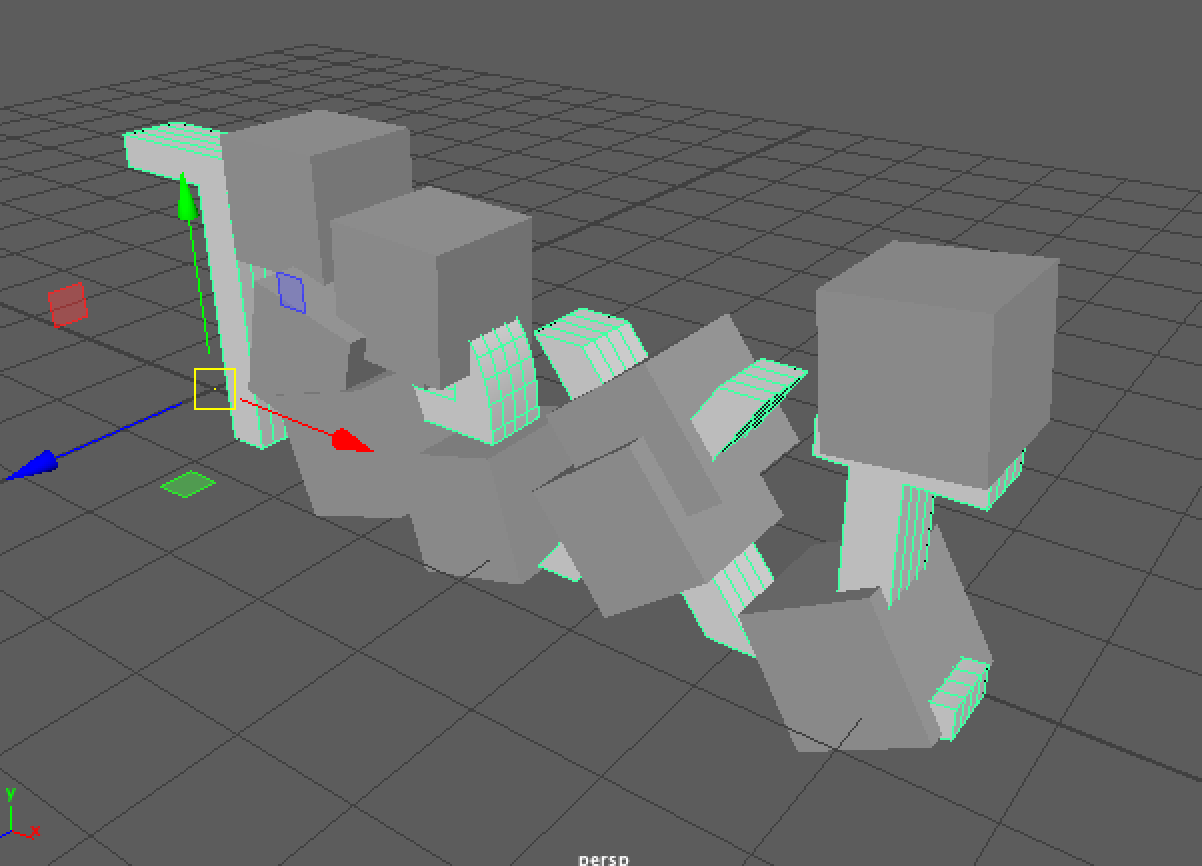
With the MASH1_ReproMesh object selected in the outliner press ‘F’ to focus on our selection, you’ll notice that there is an additional cube in our scene:
With the MASH network selected in the outliner, open the attribute editor where the MASH node options are:
Click on the ‘MASH1_Distribute’ node, this is the first node that Maya creates by default when a new MASH network is created. The Distribute node is responsible for duplicating and organising the object/mesh that we created for our mash network. From here we can adjust the layout and number of objects we distribute based on our original object:
We can also modify the distribution settings to create some really nice object sets, lets modify some of the distribution options and see the result:
MESH Distribution Type
This option will attach the MASH network to a specified mesh, in this case our target mesh will be the text we created in step 1.
Under the distribution type dropdown select Mesh, an alert will appear asking you to connect a mesh:
Select the In the outliner middle click our original text and drag into the Input Mesh field in the attribute editor:
The distribution of the cubes in our scene change, to see what has happened, unhide our text (Select in the outliner and press SHIFT + H):
You’ll notice that the cubes have been distributed along our text mesh (which we specified as the Input Mesh).
To completely cover the text, select Face Centre and check the ‘Flood Mesh’ option.
Which will result in much more coverage:
Experiment with other Methods in the Mesh distribution type dropdown.


