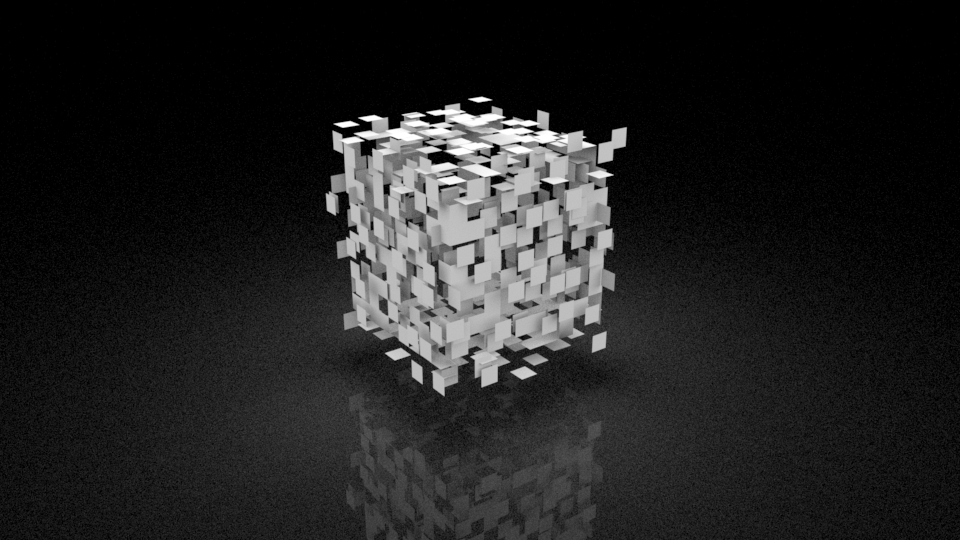
Learn how to create an exploding cube using a simple MASH network with a Random Node and Explode Utility.
Setting up
We need to set up an example scene before we can see the Explode in action.
Create a cube and increase the subdivisions height/width/depth to 10 (for more detail):
With the object selected in the outliner, Hide it with CTRL + H:
Create another cube (No need to adjust the subdivisions for this one):
Select the Animation menu set and Click MASH > Create MASH network:
With the MASH network selected in the Outliner, open the Attribute Editor and click on the Random MASH node:
Then click on the MASH_distrubute tab and change the ‘Distribution Type’ dropdown to ‘MESH’:
Drag and drop the original cube object in the outliner directly into the Input Mesh field in the attribute editor (PC: Middle click + drag, MAC: CMD + Drag), this is the hidden one that we increased the subdivisions on:
Select ‘Face Centre’ from the ‘Method’ dropdown and check the ‘Flood Mesh’ checkbox:
Click on the MASH_Random tab in the attribute editor and scroll down to the ‘Strength’ section.
Make sure you are on frame 1, right click on the ‘Strength’ slider label and select ‘Set key’:
Move to another frame (20 for example), reduce the value of the ‘Strength’ slider to 0 and right click the slider label again and select ‘Set key’:
Run the animation to confirm it works as expected:
Adding the Explode
Select the MASH network in the Outliner:
Make sure the MASH tab is selected in the Attribute Editor, Scroll down to ‘Add utility’, Select ‘Explode’ > ‘Add Explode Node’:
Select the MASH_Explode tab in the Attribute Editor, Middle click and drag the original cube object in the Outliner to the ‘Exploding Mesh’ field in the Attribute Editor:
Select the ‘MASH_ReproMesh’ in the outliner and hide it (CTRL + H):
Finally display our original object, expand the cube parent object in the outliner, select the child object and press Shift + H to show it:
Now play the animation:


