A brief and quick example on the MASH offset node in AutoDesk Maya.
Create an object ‘Create > Polygon Primitives > Cube’:
With the object selected, and the Animation menu set active click on ‘MASH > Create MASH Network’:
With the MASH network selected in the outliner, open the attribute editor and click on the MASH tab:
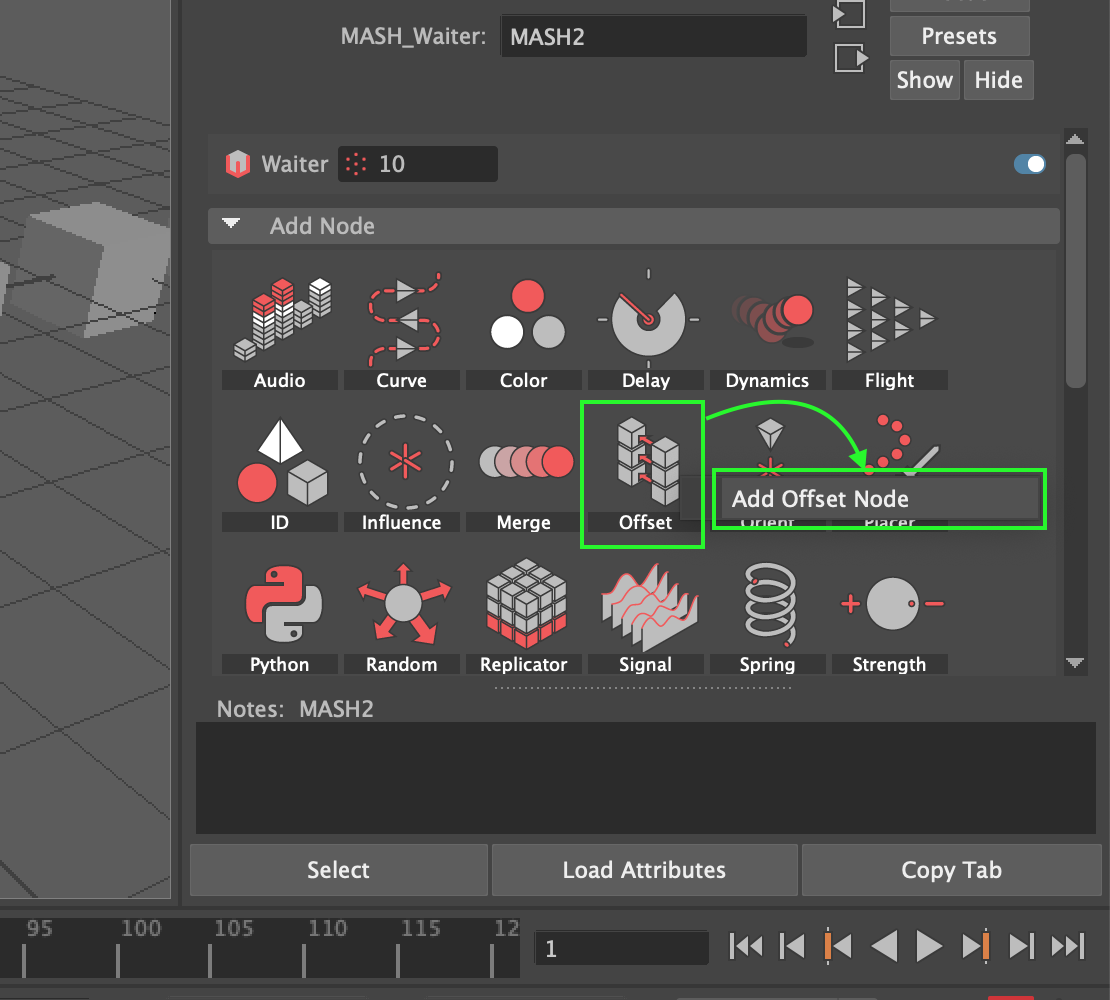
Click on the offset MASH node option then click ‘Add offset node’:
Hiding the objects using this method
One of the cool things you can do with the offset MASH node is animate objects coming into existence, to initially hide the object change the ‘Offset scale’ to -1 for each channel:
Assuming the time slider is on frame 1, add a keyframe by right-clicking the ‘Offset Scale’ label and selecting ‘Set Key’:
Then move the time slider to another frame in the future (10 for example), update the Offset Scale values to 1 and set another key:
Playing the animation will result in the cube objects of our MASH network appearing to grow into existence:


