The time editor is used to blend between animations and allows you to take keyframe animations for an object and compile them into a single ‘animation clip’.
Helps to think of the time editor as a type of video editing software. Let’s say we have multiple animation cycles for an object:
- Idle animation
- Walk cycle
- Run cycle
You can put each of the above cycles into individual animation clips. The time editor will then allow you to blend between those animations clips to create a finished sequence of animations.
How to open the Time Editor
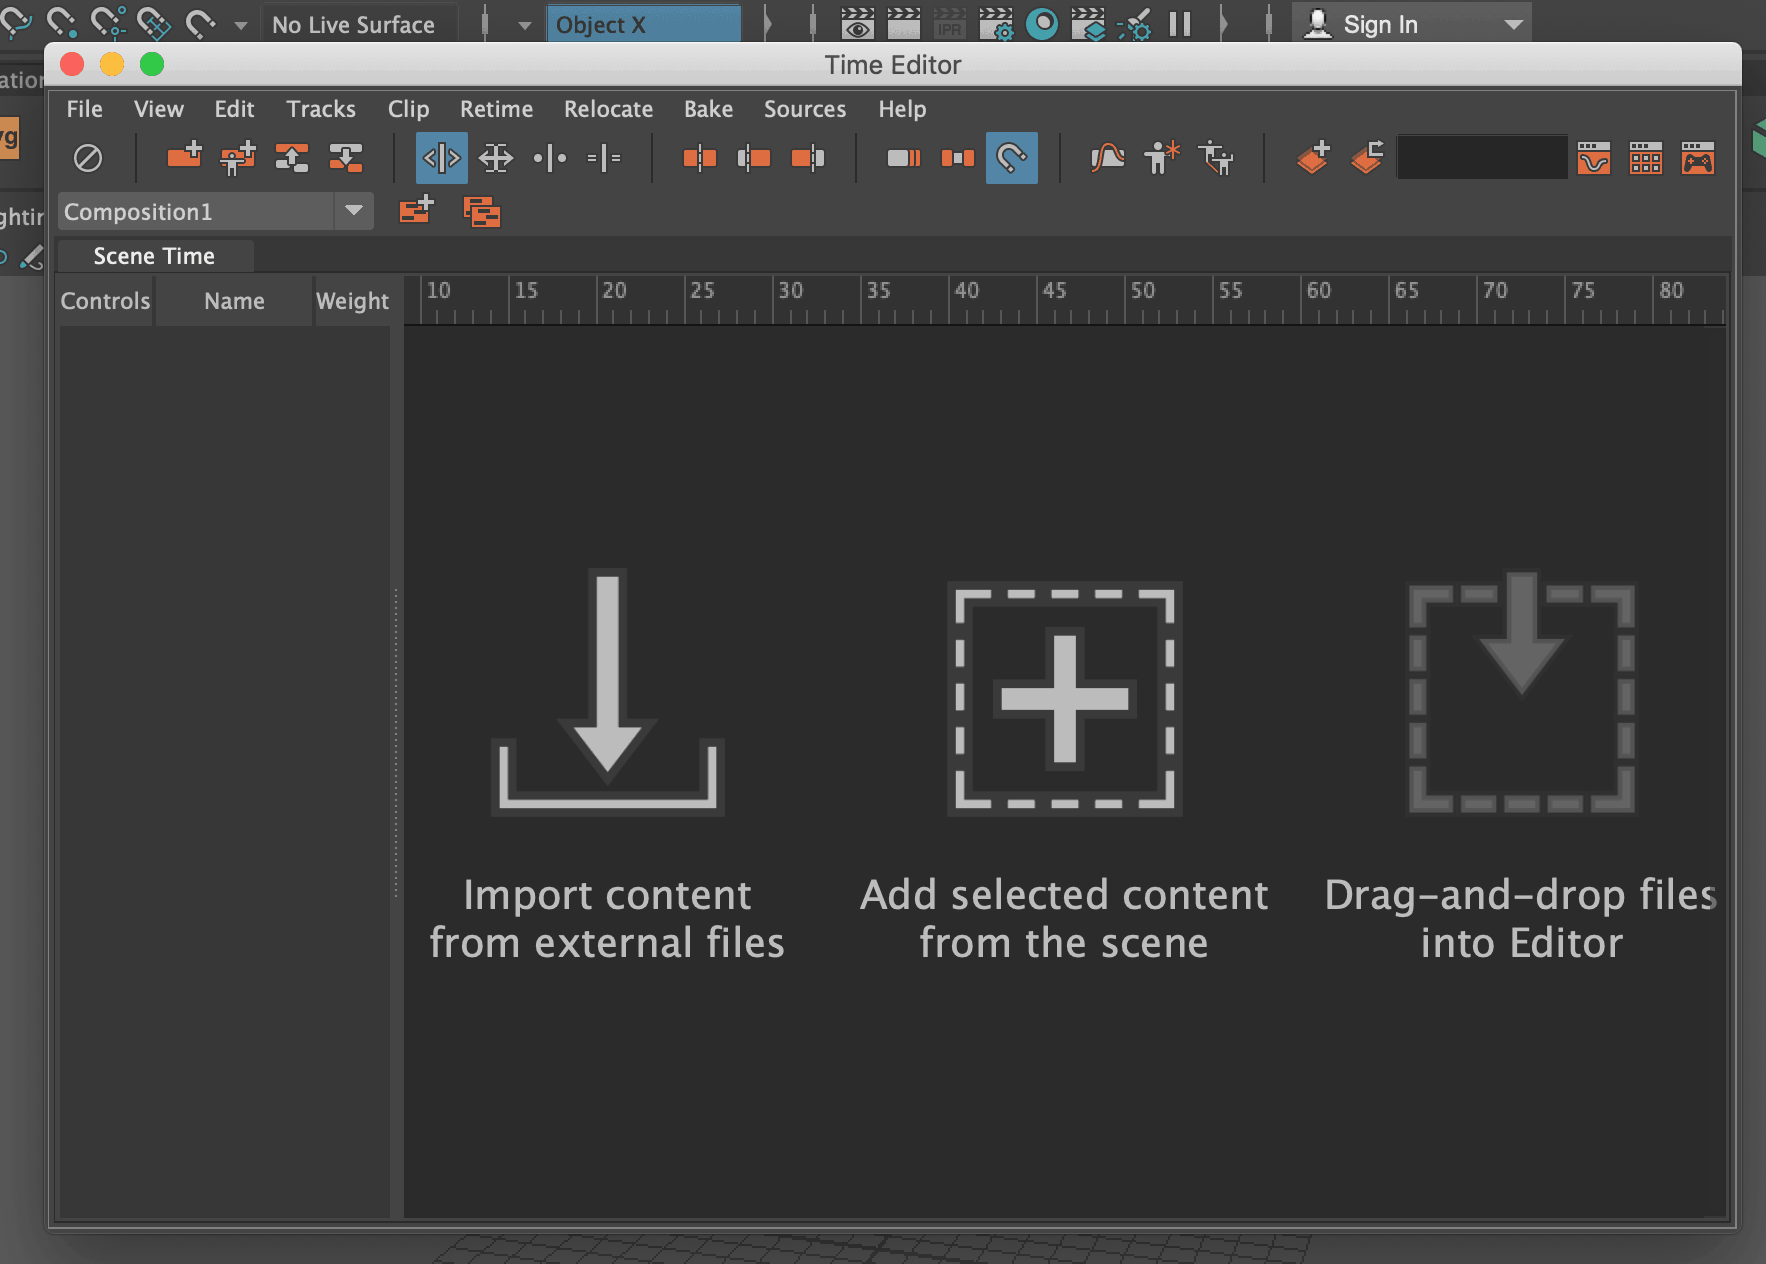
You can open the time editor with ‘Windows > Animation Editors > Time Editor’:

Adding Clips

Lets take a look at the large options and what they mean:
Import content from external files: Allows us to import clips we have previously created and exported.
Add selected content from the scene: If you are working on a scene and have selected the object you want to bring into the time editor.
Drag-and-drop files into Editor: Same functionality as the import option, but you drag the external clips directly into the editor.
Compositions
Compositions are scene or a project for the time editor, and contain multiple animation clips. You can have multiple compositions. And each composition is like a self contained project.
When you add an animation to the Time Editor a new composition will automatically be created, for readability you can rename the composition from the dropdown:

Re-timing Clips
You can adjust the timing of imported clips by selecting the ‘Scale mode’ option and simply dragging the end of the clip along the time value (In the example below we have reduced the time of the selected clip to 18 frames):

If we play this clip, the animation cycle will run faster, as we have reduced the number of frames that the animation runs in. Likewise if we increase the number of frames, the animation will run slower.
Looping Animations
To loop an animation in the Time Editor, select ‘Loop mode’ from the top menu:

Then select the end of the clip and drag to the right:

The initial animation will loop for as long as we have frames for it in the editor, and if we extend the selection further you’ll see the boundaries of the original animation (represented by grey bars):
