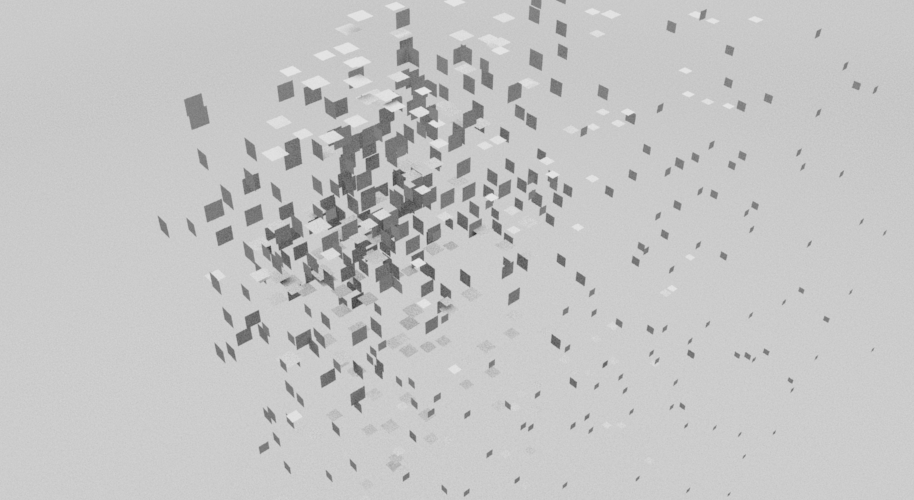
Learn how to create a falloff object in AutoDesk Maya. See an example and step by step guide to creating a Falloff object mixed with MASH.
Assuming we already have a MASH network created (If not, follow this guide).
Open the MASH Editor ‘MASH’ > ‘MASH Editor’:
Click on the plus (+) icon for our MASH network and select ‘Offset’:
Open the Attribute Editor to see the new offset node:
Change the ‘Offset Scale’ values to -1 for X, Y and Z. This will make our object invisible:
Then scroll down to the ‘Falloff Object’ section, right click in the input area and select ‘Create’:
It doesn’t look like much has happened, right? Continue…
Select the falloff_mash_offset object from the Outliner, then press W on the keyboard to switch to the move tool:
Now move the falloff object and see what happens, our cube re-appears using the falloff effect:
Put the falloff object back to its original position, and with the falloff still selected with the timeline on frame 1 hit ‘s’ on the keyboard to add a keyframe. Then move to a frame in the future (90 for example), move the falloff object along any axis until our cube appears and hit ‘s’ again to add another keyframe:
Now play the animation to see the effect of mixing a random node, explode utility and a falloff object!


