Taking a look at how to add side-to-side rotation to an object/control object that is animated along a motion path.
We are going to lead on from a previous example where we created a motion path and animated an object to travel along it, we also discussed and applied motion speed and dipped into to graph editor,please read this one first.
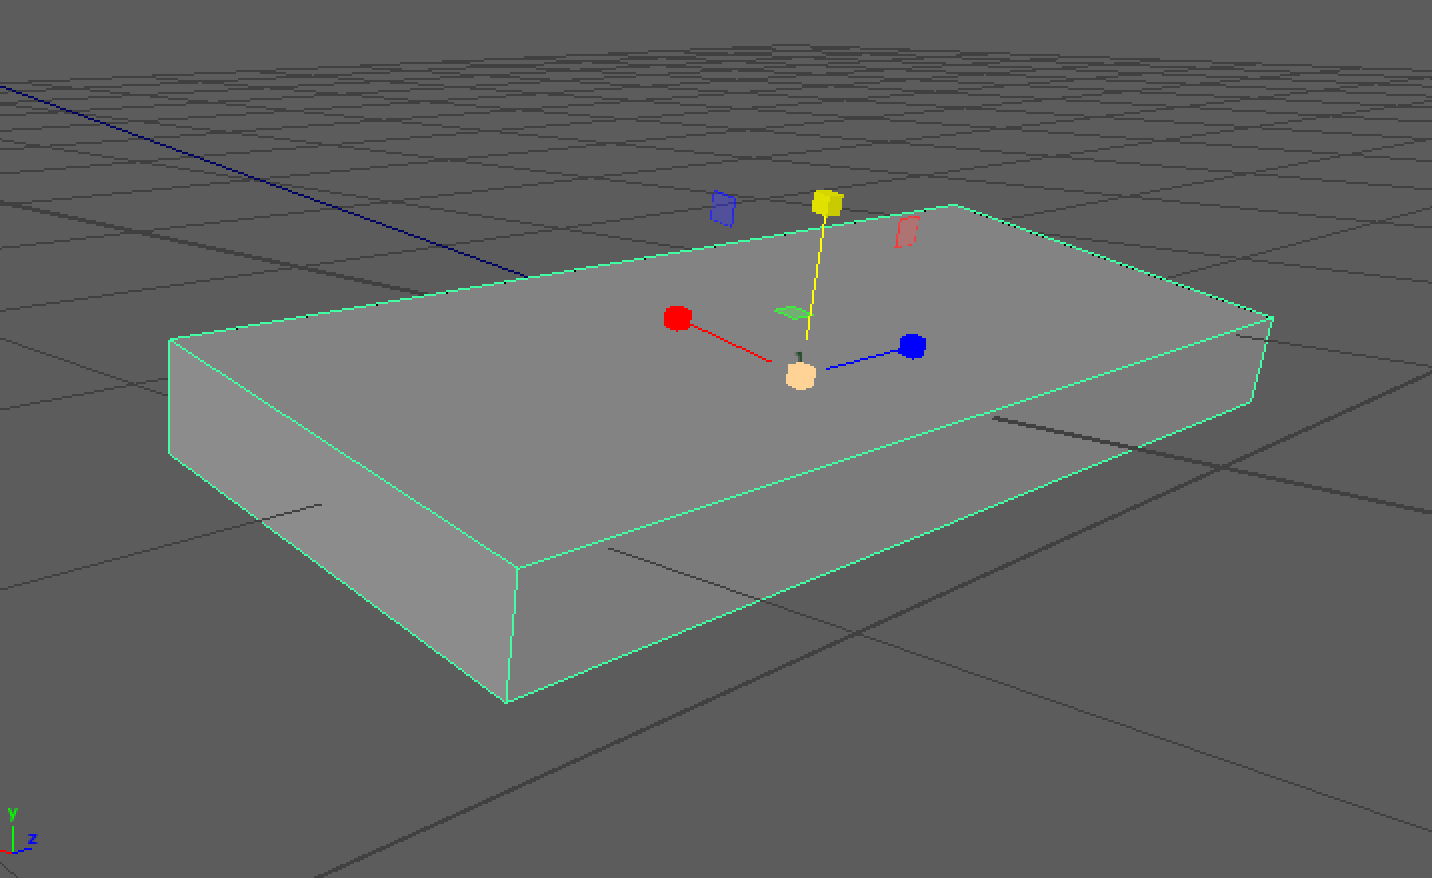
For this example I have adjusted the dimensions of our original cube, so we can see the effects of our changes more clearly:

Select the object and open the motionPath input node from the channel box:

We are only going to be focussing on the Front Twist value as this is the side-to-side rotation of our object.
Right-click the Front Twist channel and click ‘Key Selected’ to add a keyframe for this channel.
Then you are able to move along the time slider, and as the object moves along the path we can adjust the front twist value and add keyframes to add the ‘banking’ of our object. Do this for each required curve in the path:
Enabling ‘Auto Key’ could make this process quicker as it would add keys automatically when you edit the channel value.