The Ghost tool is great for previewing the path of your objects through 3D space. Let’s set one up and see how it can be used.
Category: Animation
In
Select all of the control curves you want to apply the animation clip to.
Tip: If you deselect the ‘Select surface objects’ option, you then wont be able to select objects (poly/nurbs) which include a surface, then click and drag in your scene to select multiple control curves:
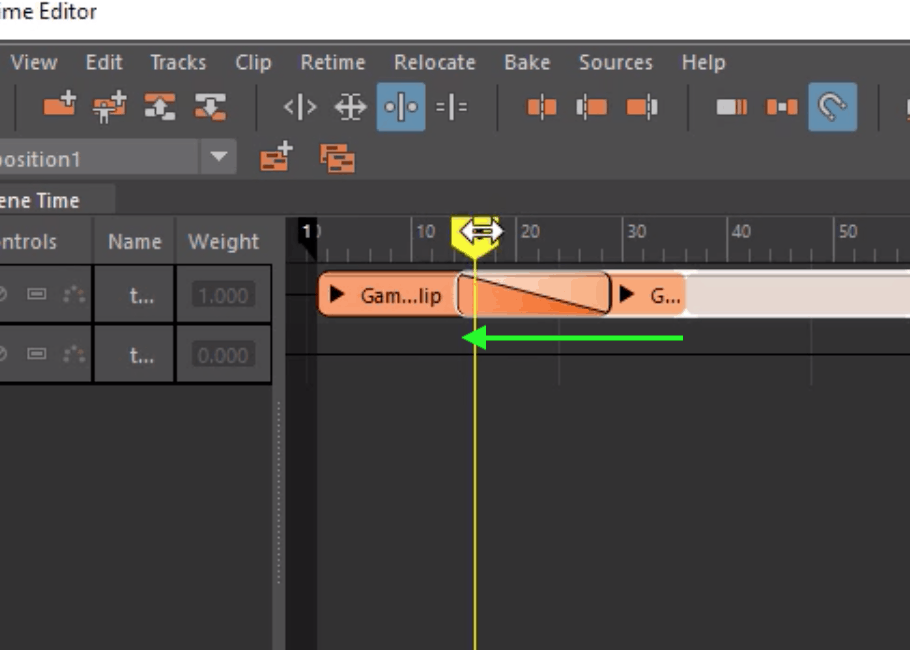
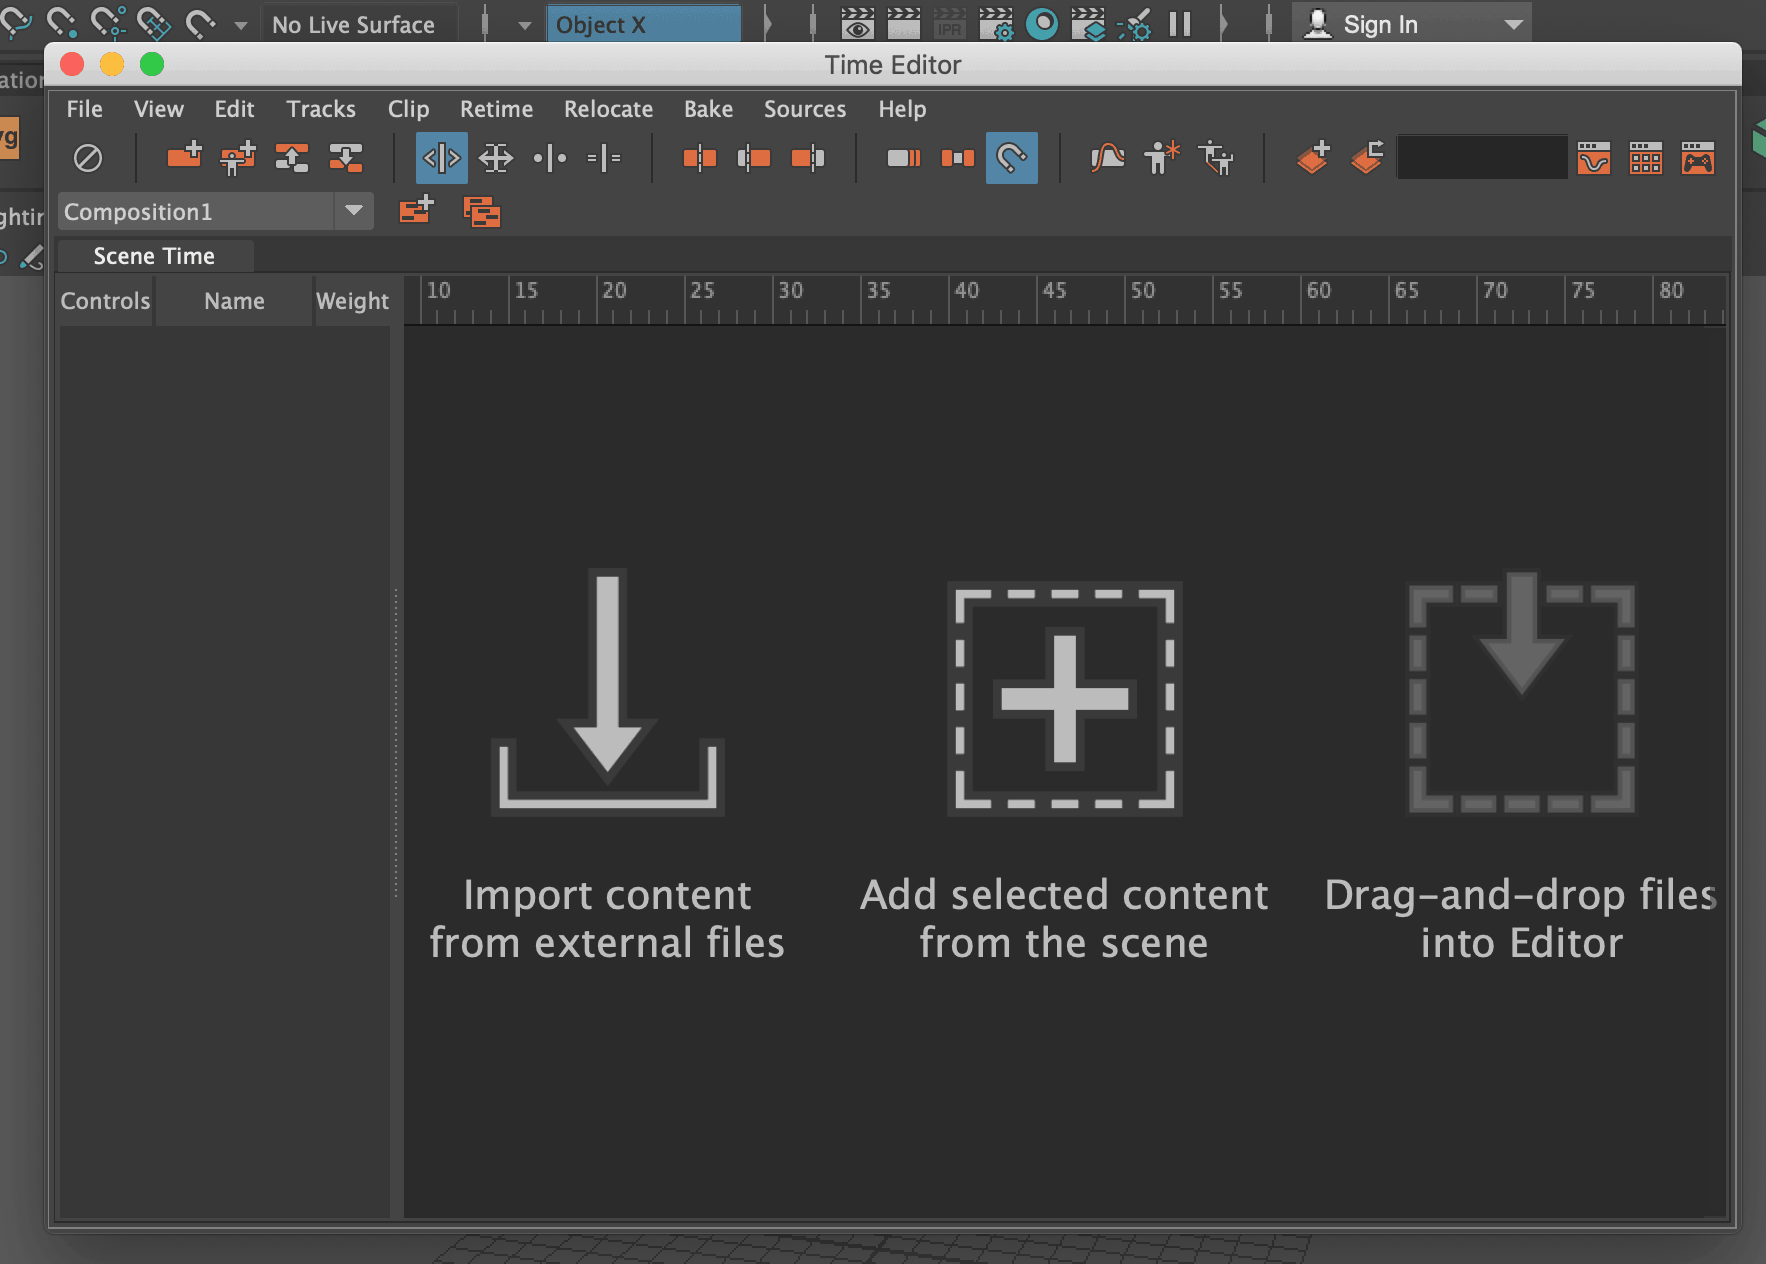
The time editor is used to blend between animations and allows you to take keyframe animations for an object and compile them into a single ‘animation clip’.
Create a simple animation, in this example we’ll just be moving a ball using 2 keyframes (1 and 10):
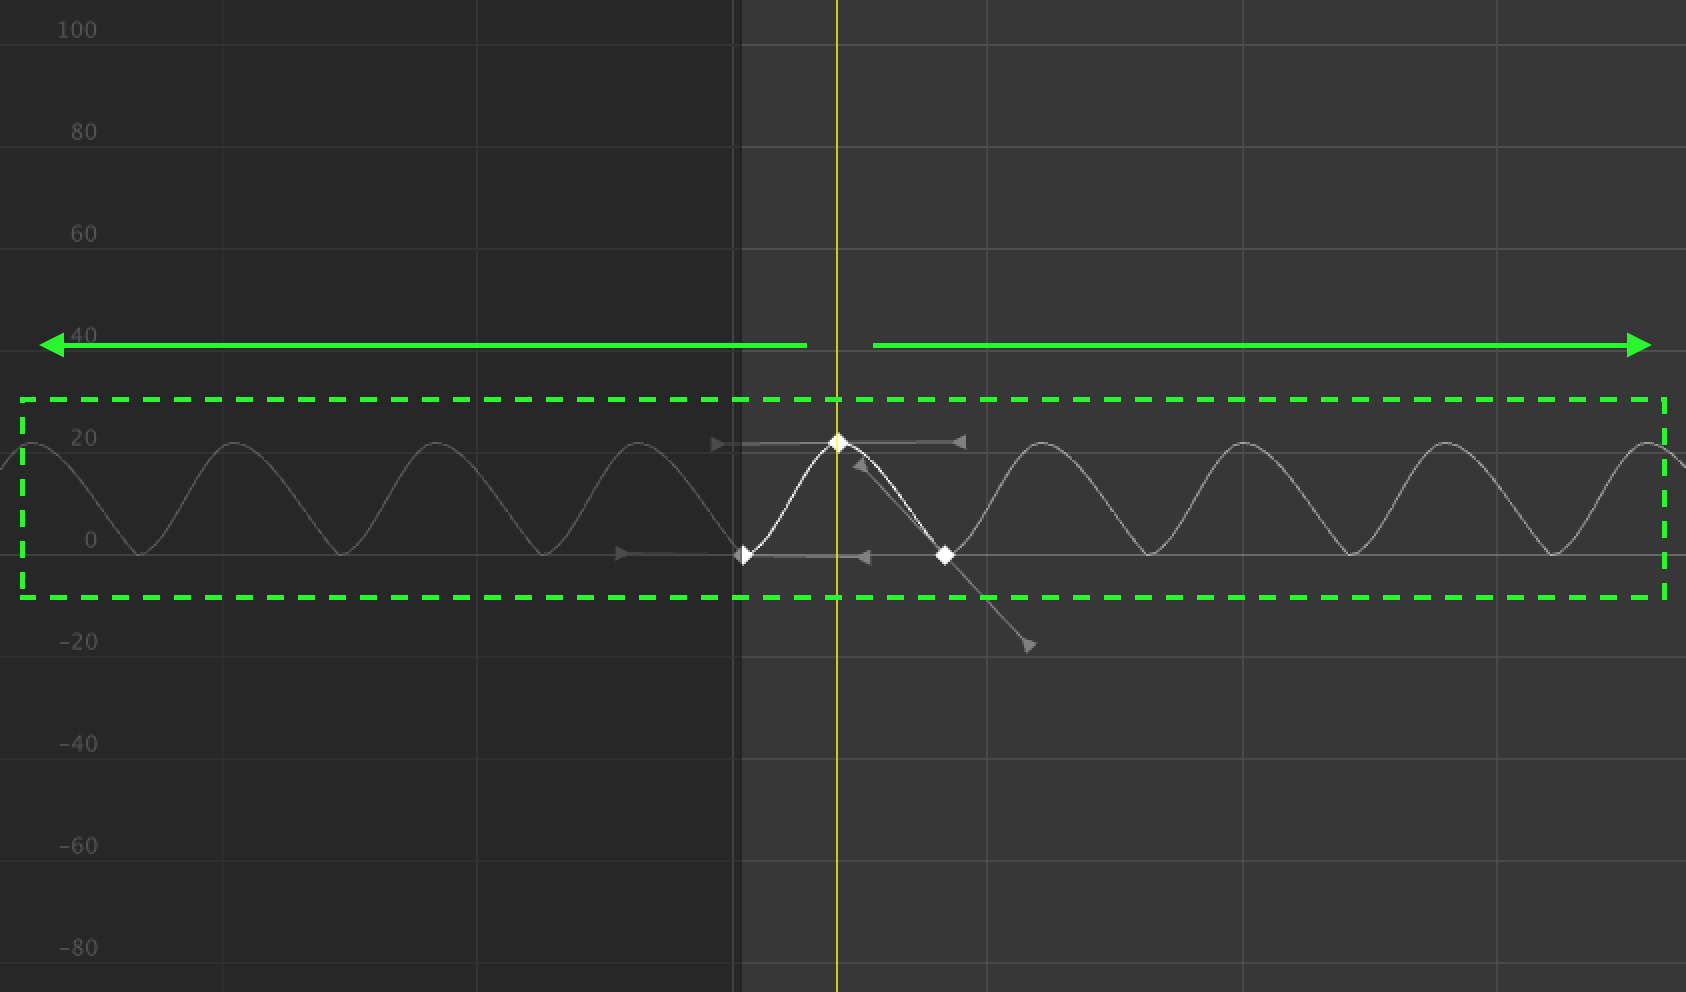
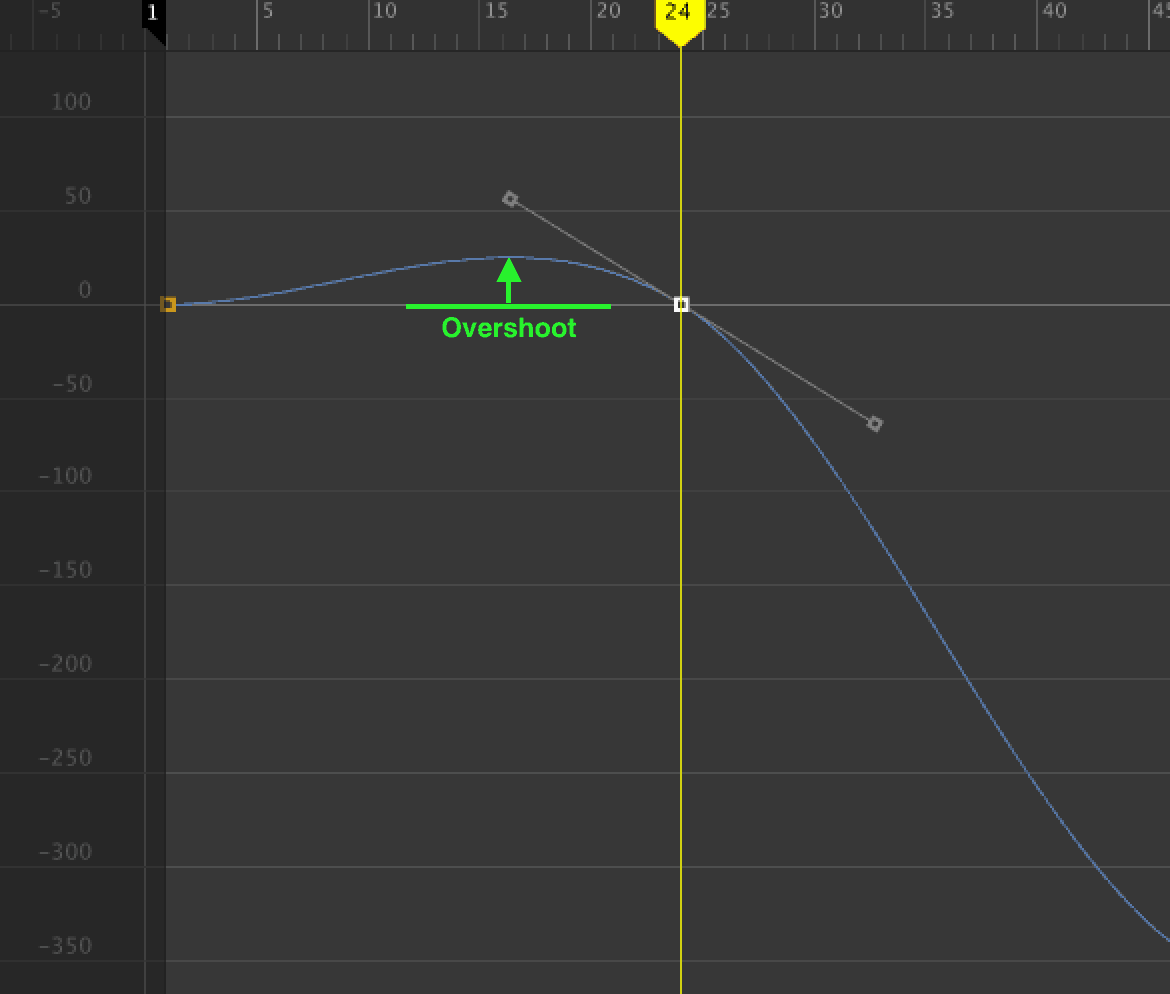
In this post, we’ll take a look at the Tangent Types used in the animation Graph Editor to fine-tune your animations.
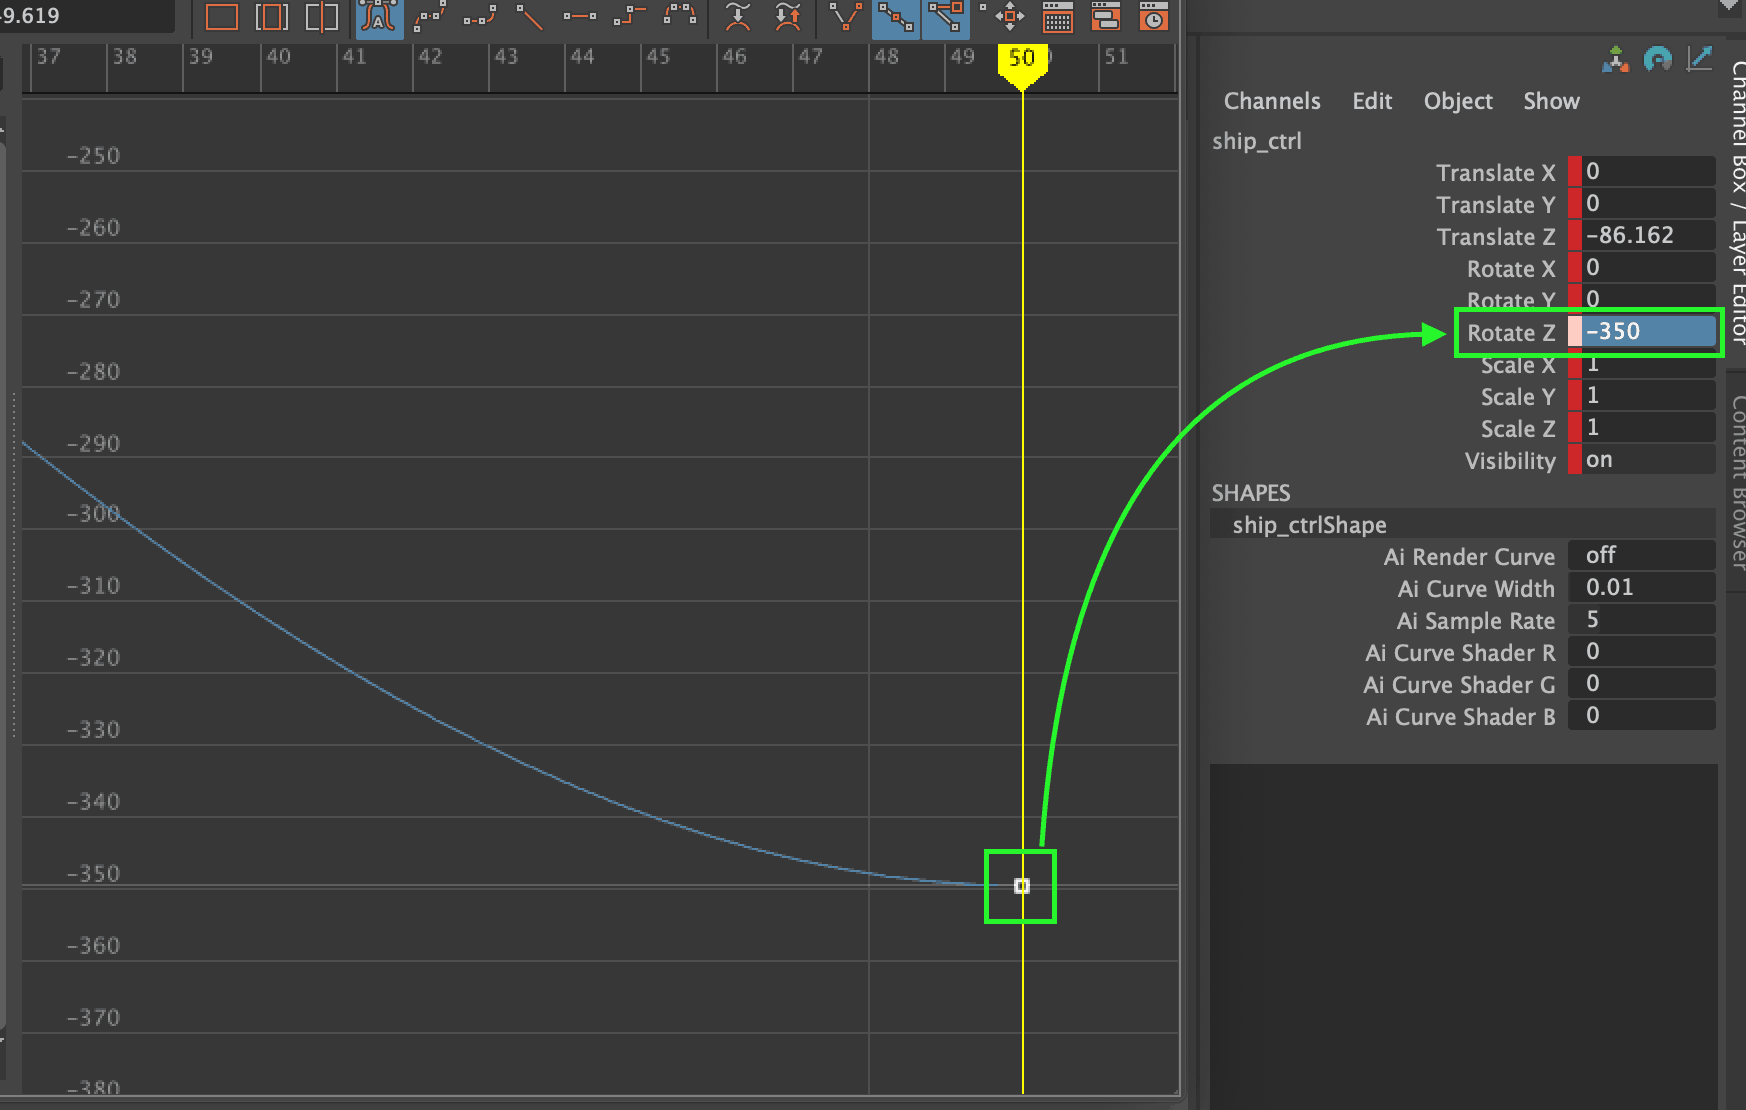
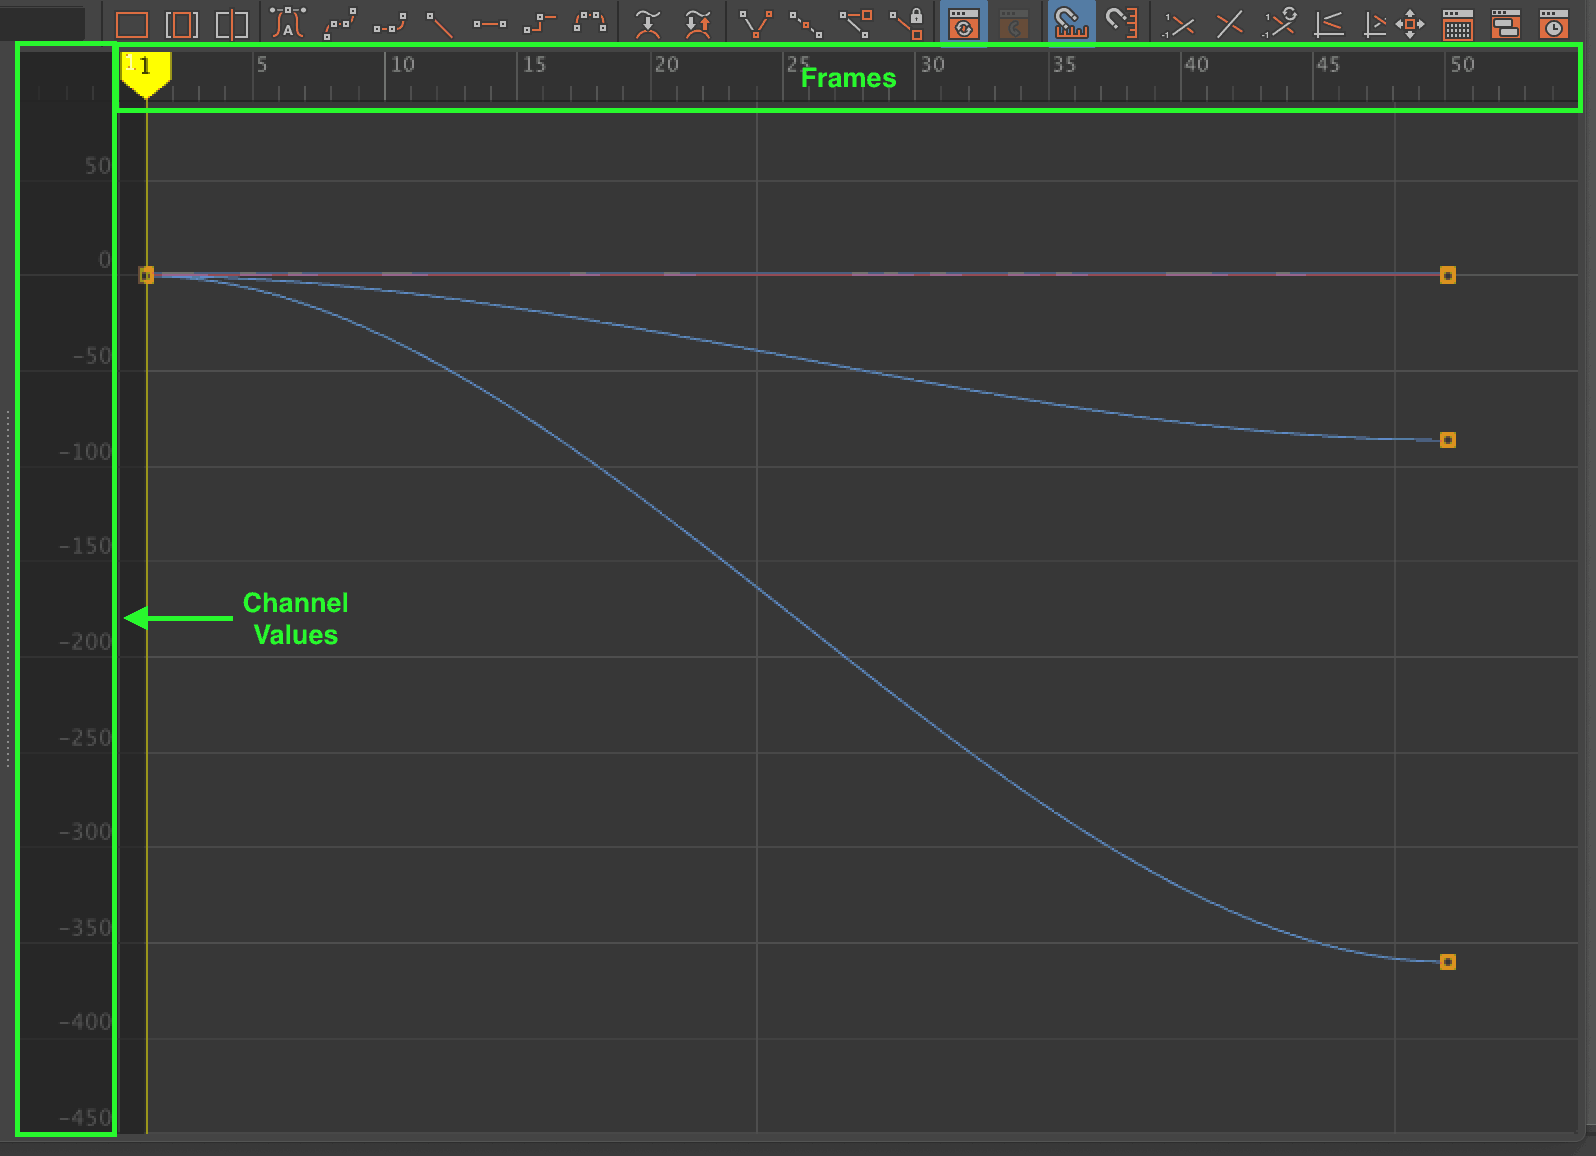
A brief introduction on modifying keyframes in Maya’s graph editor, if you are planning to animate in Maya this will be a useful guide.
Used to fine tune and tweak animations, you’ll spend a lot of time using it when animating.
If you have set some keyframes in the animation timeline and want to adjust them you can select the keyframes (one or several) and move them around.
The Autokey function automatically adds a key to a channel which already has one, each time the channel changes.


